
The Basics Nobody Tells You
Most tutorials on how to caulk a shower make it sound like a fifteen-minute job. Cut the tip, squeeze the tube, smooth with your finger, done. And then three months later youre looking at peeling caulk and mold growing in the gap and wondering what you did wrong.
What you did wrong was probably everything before you picked up the caulk gun.
I know because I did it wrong too. For years. I was a professional and I still took shortcuts that came back to haunt me. But I’ll get to that.
Why Caulk Fails
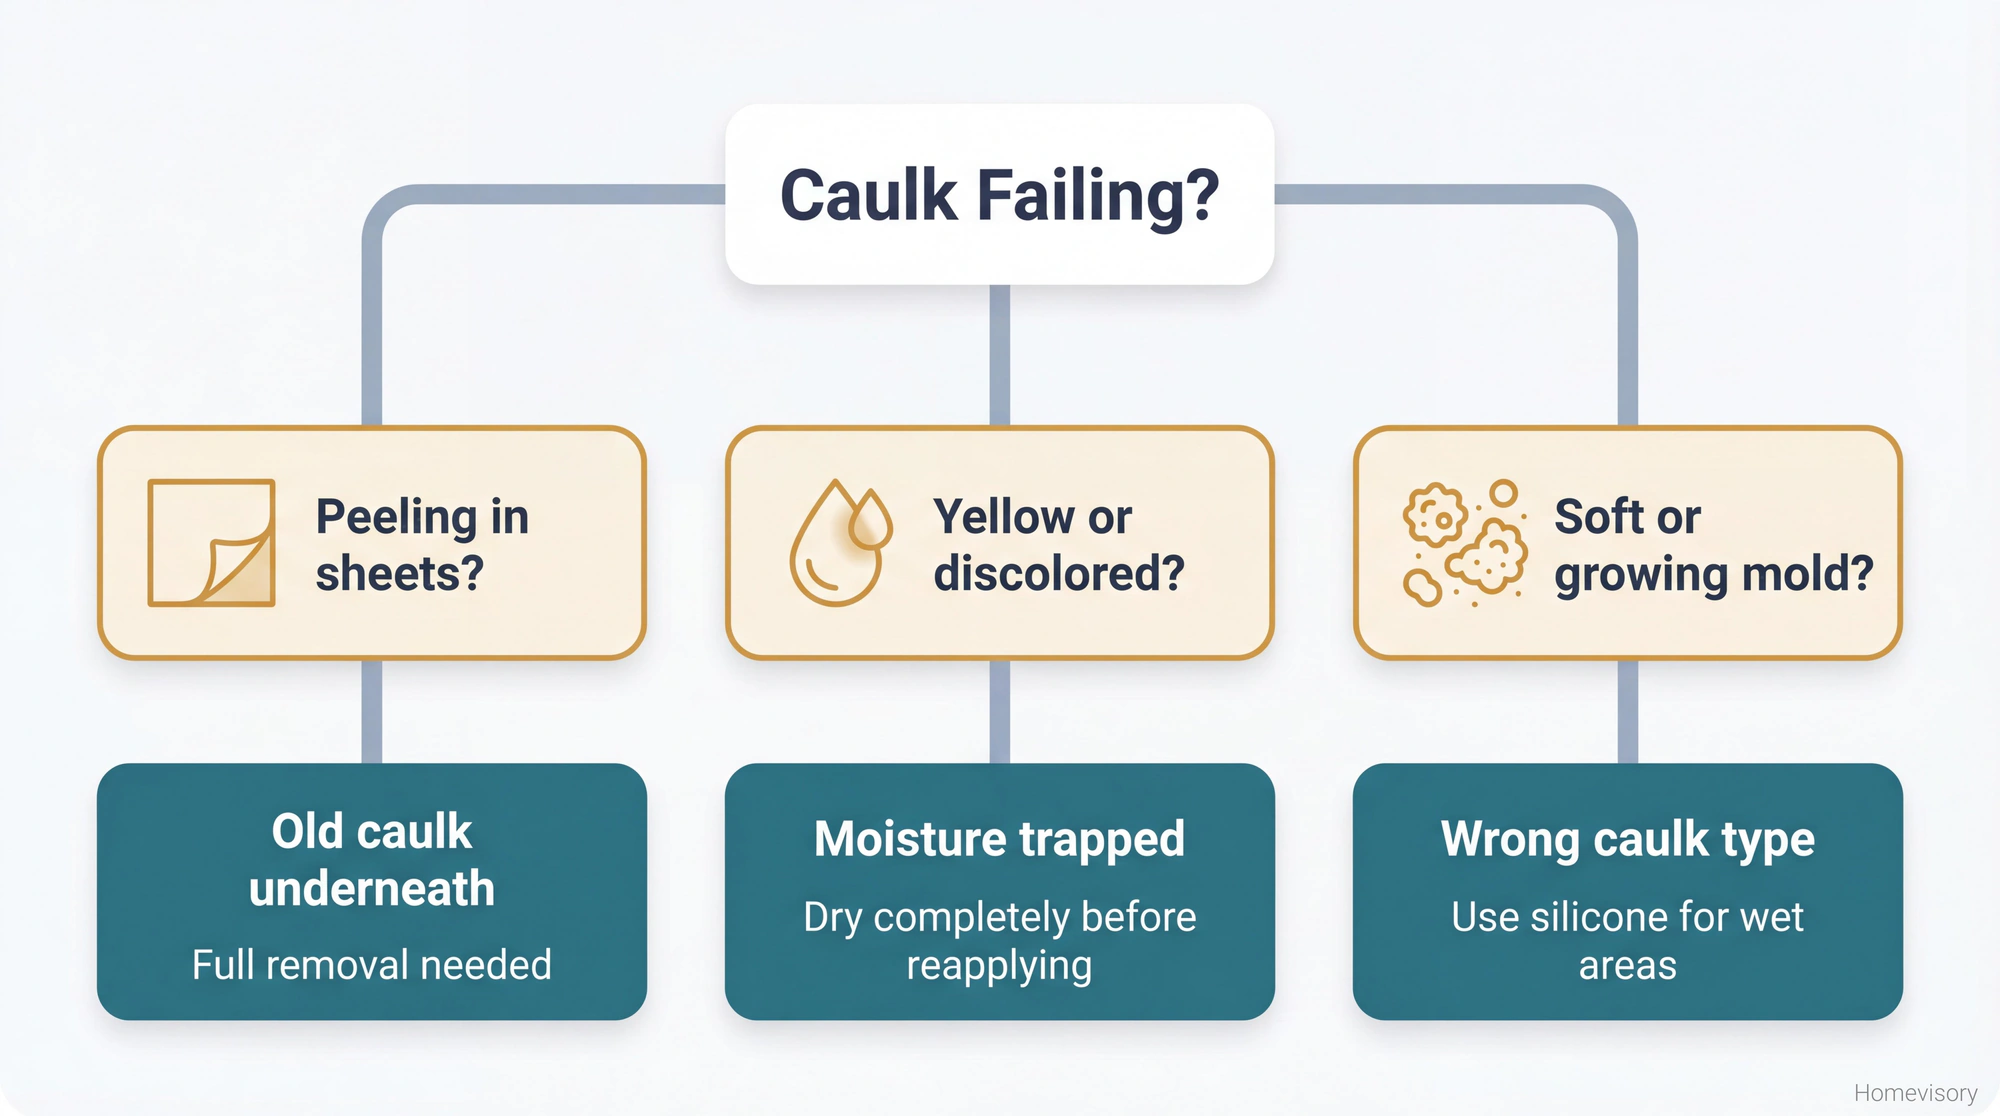
Caulk fails for three reasons and two of them have nothing to do with the caulk itself.
Old caulk underneath. Moisture in the gap. Wrong type of caulk.
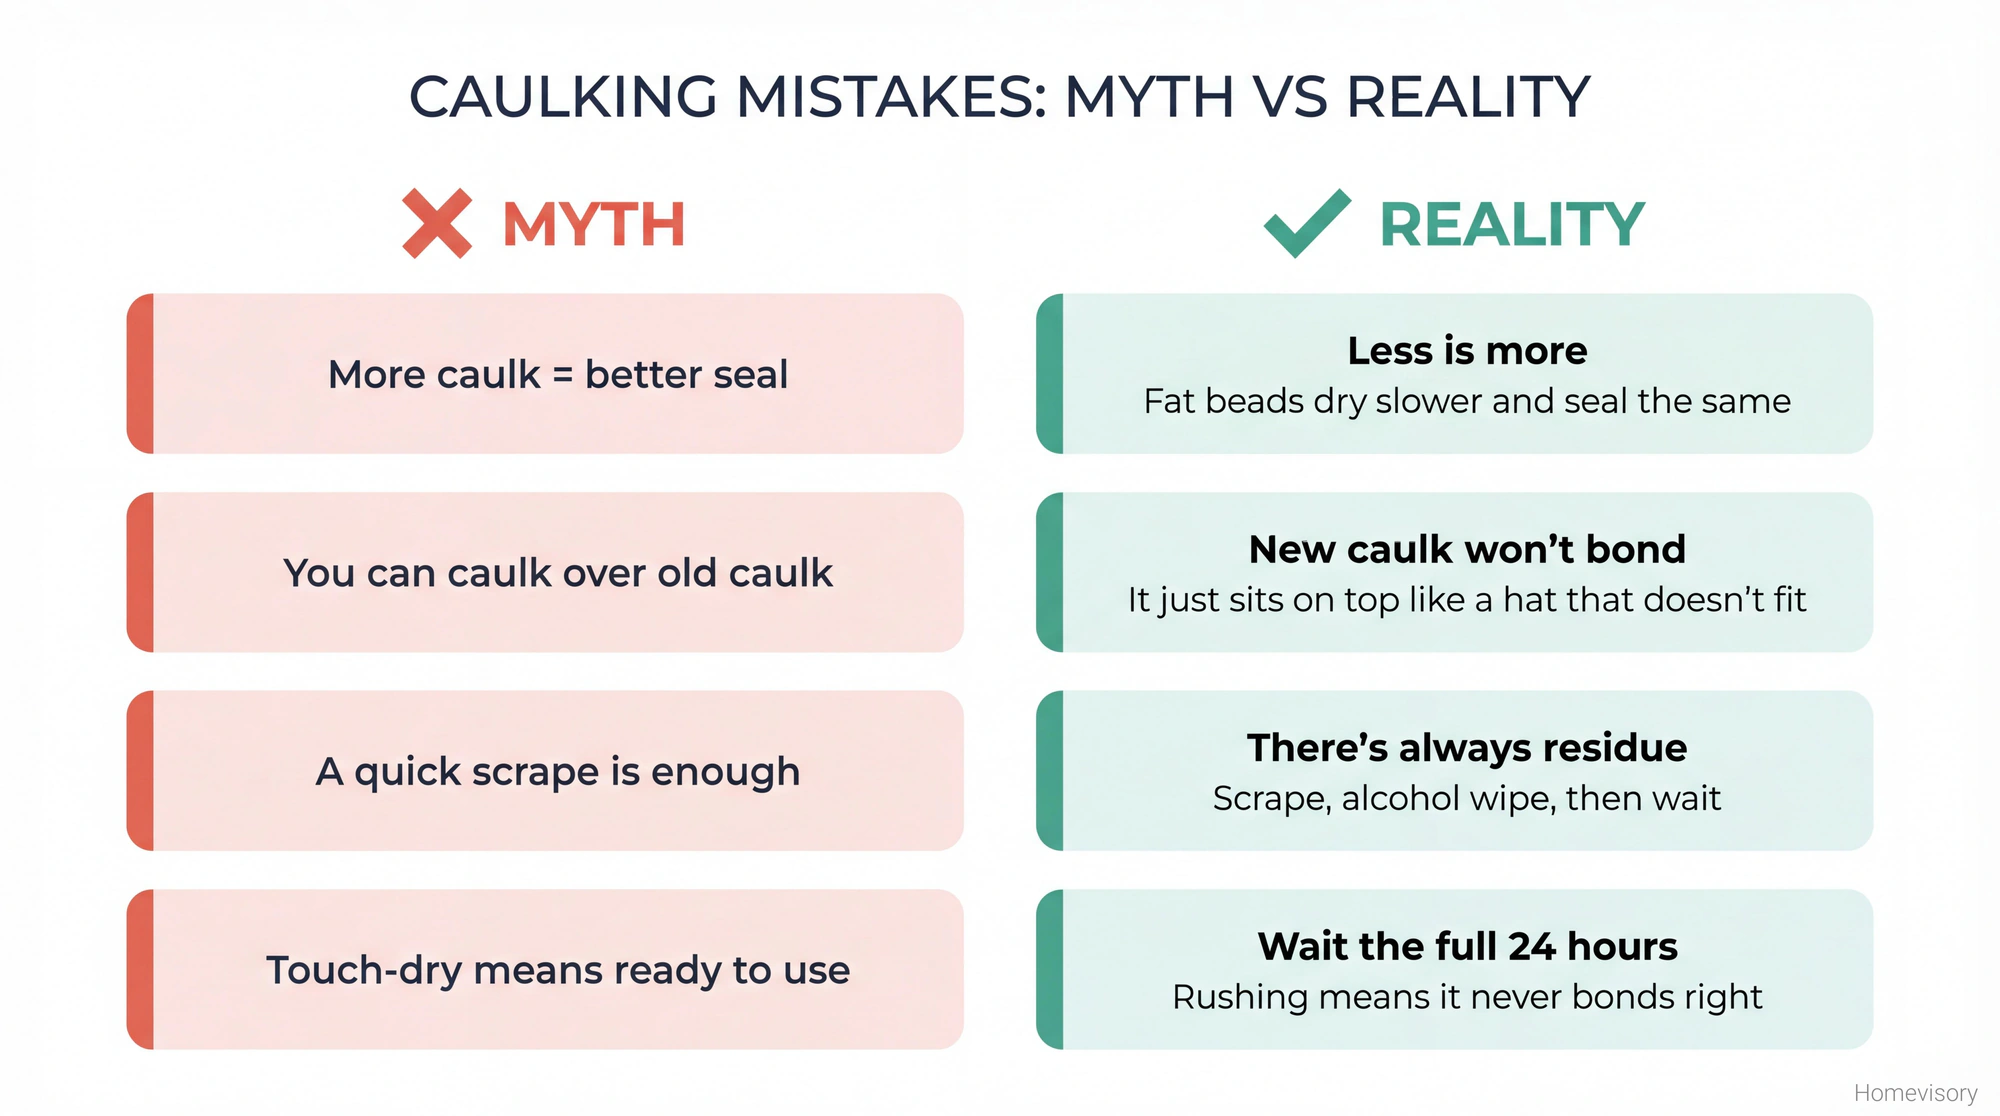
Thats it. If your caulk is peeling or yellowing or growing things, its one of those three. Usually the first one. People want to recaulk a bathtub without removing what’s already there and I understand the temptation because removing old caulk is tedious and boring and feels like a waste of time when you could just cover it up. But you cant cover it up. The new caulk wont bond to the old caulk. It’ll bond to itself and sit on top of the old stuff like a hat that doesnt fit.
Water finds every mistake you make. My dad used to say that about something else, he was talking about factory work, about checking seams on products before they shipped. But it applies to bathrooms more than anything. Water will find the gap. Water will get behind the caulk. Water will sit there and grow things and rot things and eventually youre not recaulking, youre replacing the subfloor.
Removing Old Caulk
This is the part I care too much about.
When I talk to people about how to caulk a bathtub, they want to skip to the technique, the angle of the gun, the smoothing motion. None of that matters if the surface isn’t clean. None of it. You can have perfect form and the right silicone and the proper bead width and all of it will fail if theres old caulk residue or moisture or soap scum or anything else between the new caulk and the surface its supposed to stick to. I learned this the hard way and I’ll tell you about that in a minute but first lets talk about how to actually remove the old stuff because most people dont do it right and they think a quick scrape is enough when its not even close to enough.
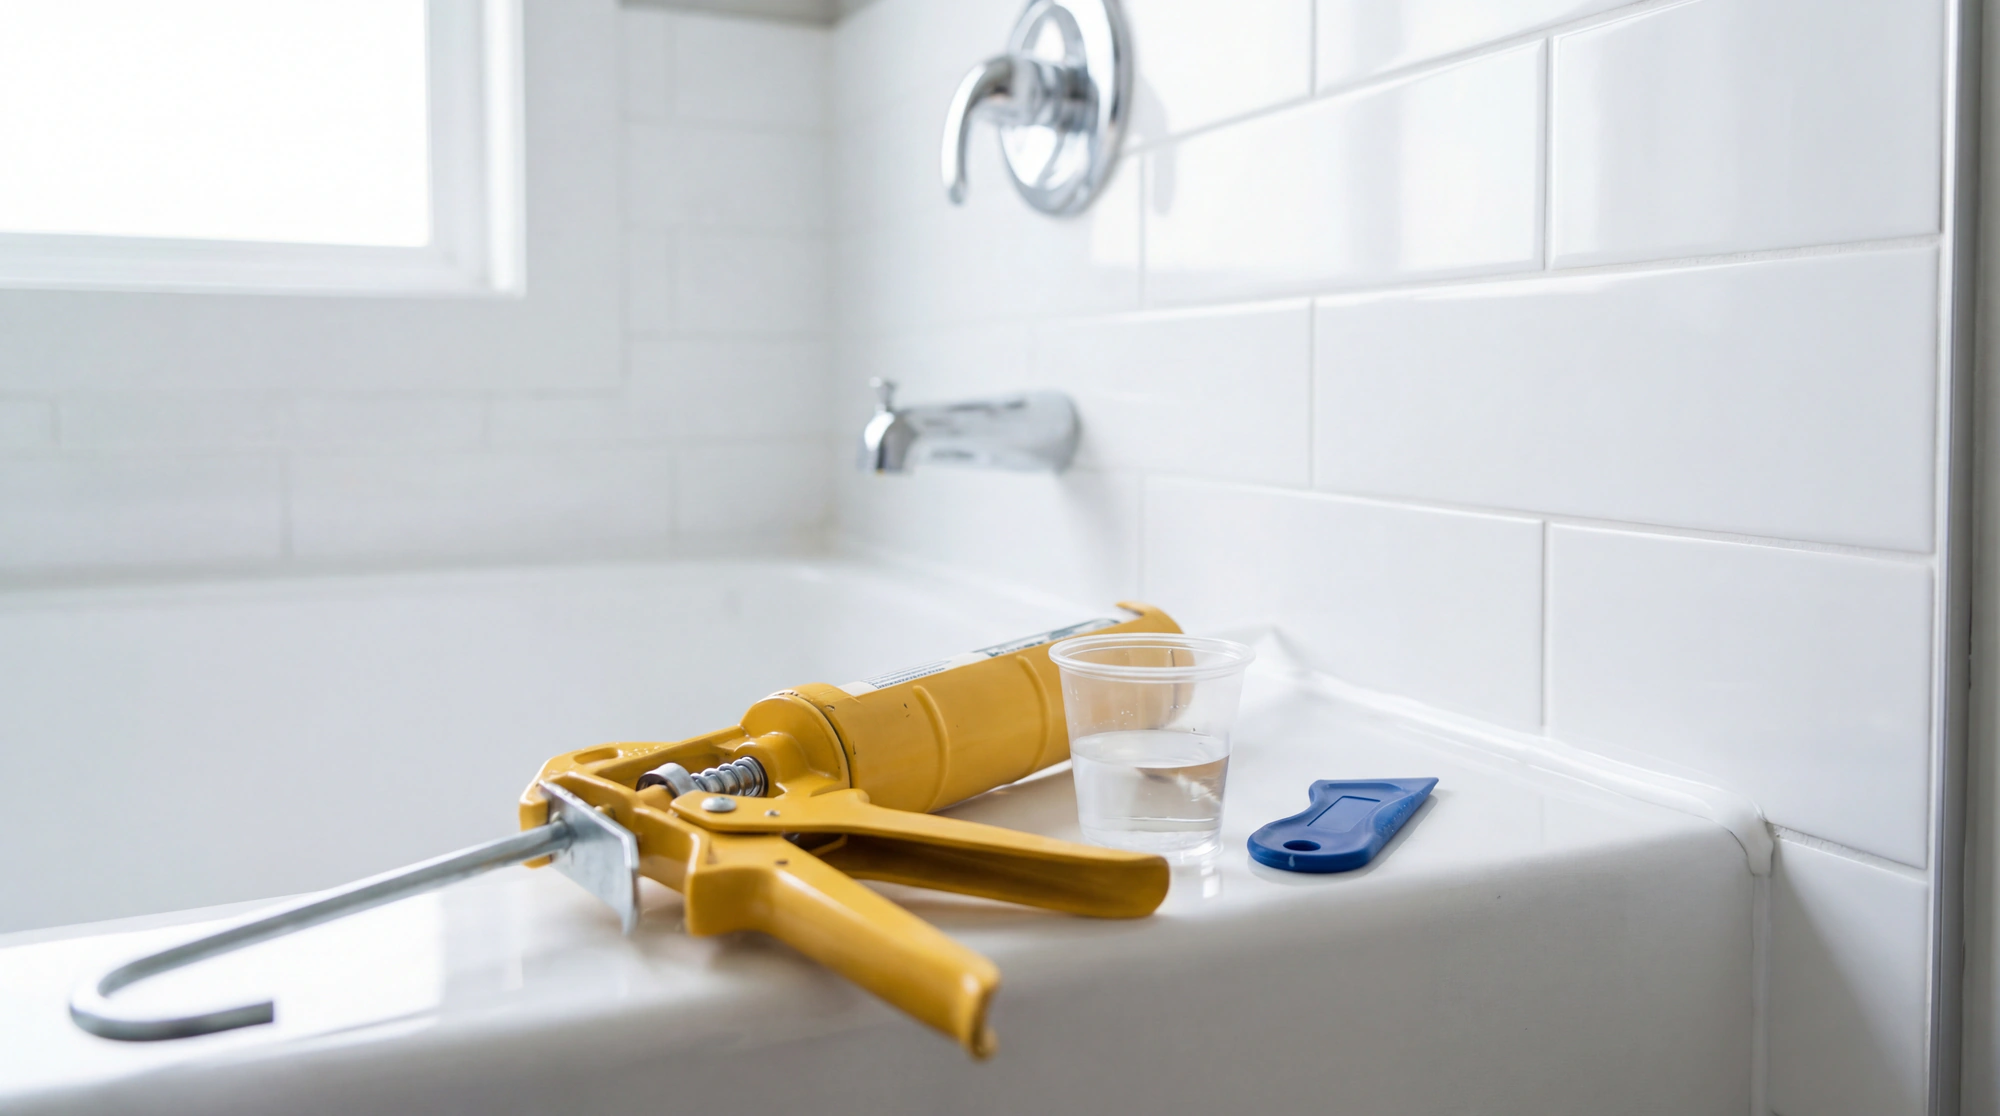
Get a caulk removal tool. They’re about five dollars at any hardware store. Plastic ones work fine, you dont need the expensive metal scrapers that can scratch your tub. Score the old caulk along both edges with a utility knife, just breaking the seal, then use the removal tool to peel up the strip. Go slow. If it comes up in chunks instead of a strip, thats fine, just keep going.
But heres where people stop too early.
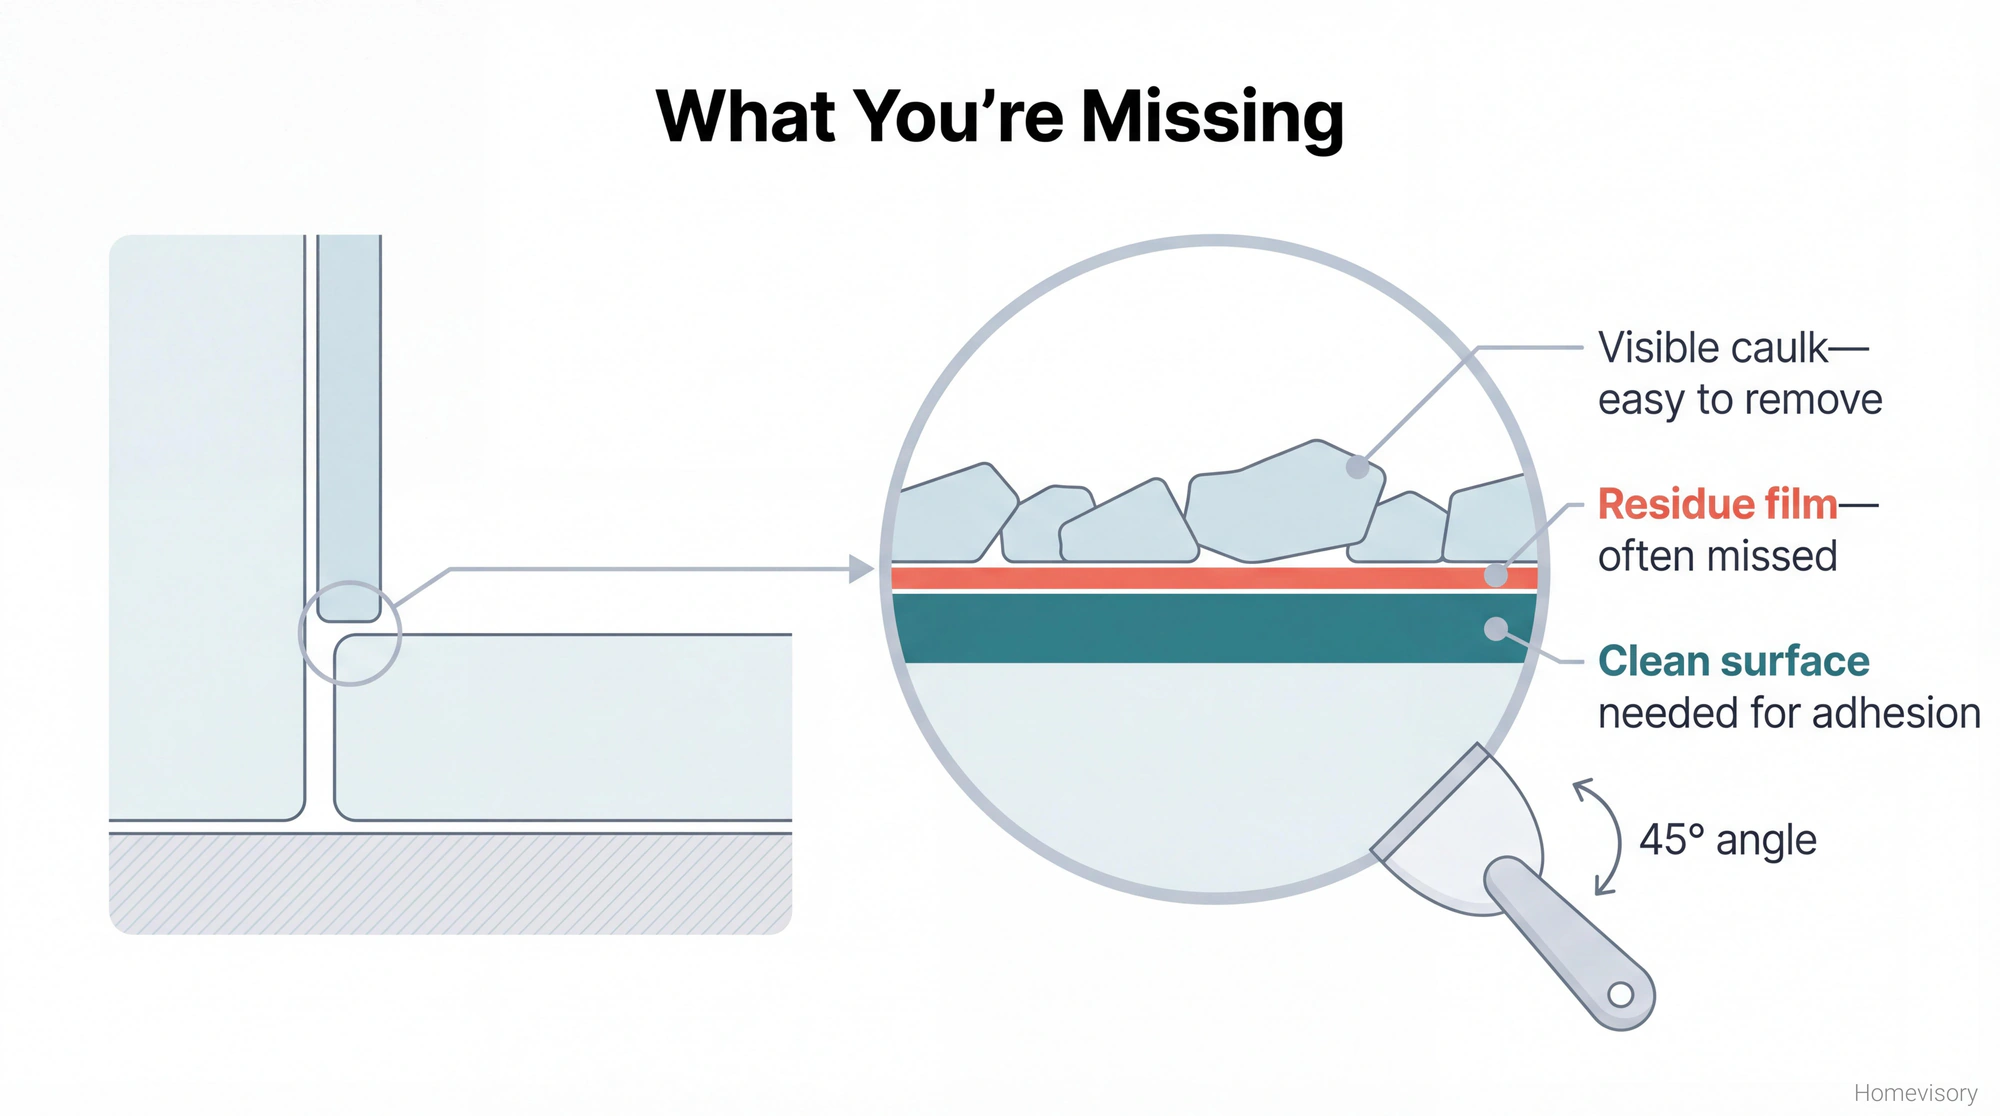
There’s always residue. Always. Even when it looks clean theres a film of old silicone or latex or whatever was there before and that film will prevent adhesion just as much as the thick stuff. After I get the bulk of it out, I go back with a plastic scraper at a 45-degree angle and really work the surface. Then I wipe with rubbing alcohol. Then I let it dry completely.
How long does caulk take to dry. That’s the wrong question. The question is how long does the surface need to dry before you caulk it. Answer: longer than you want. I wait at least an hour after cleaning with alcohol. If the bathroom was recently used, shower running, steam everywhere, I wait longer. I’ve waited overnight.
My dad used to say, about tools, he used to say “prep twice, cut once.” It’s a twist on the old phrase but he meant it differently. He meant check everything, check it again, then do the job. Prep twice, caulk once. I think about that every time I want to rush.
The Shower Tile Shortcut
Okay so in 2011 I was remodeling our bathroom. My own house. Not a client’s house where I would have done things right because my reputation was on the line. My own bathroom where I was tired and my back hurt and I had been working all week and I just wanted to be done.
I tiled directly over old tile. I know. I know. But I did it. And the caulk around the tub, where the new tile met the tub, I just went right over the old caulk without removing it. Same logic. Just cover it up. Nobody will know. I’ll know but nobody else will know.
Eleven months later the grout cracked. Then the tiles popped off. Then I noticed the subfloor was soft in one corner. Water had been getting behind everything since about month two, just sitting there, doing what water does.
Raquel made me sleep on the couch because I smelled like mold after demo-ing the whole thing. She wasn’t wrong.
That was fifteen years ago and I still think about it when I’m tempted to skip prep work. Whatever. Just do it right.
Types of Caulk
Silicone or latex. Silicone lasts longer, stays flexible, more waterproof. Latex is easier to smooth, easier to clean up, paintable if you need that. For how to caulk a shower or bathtub, use silicone. For how to caulk baseboards and trim where you need to paint over it, use latex.
Both work. Pick one. Moving on.
There’s also specialty bathroom caulks that are latex-silicone blends and there’s mold-resistant formulas and antimicrobial additives and different colors and I’m not getting into all the designer options. White or clear. That covers most situations.
The Actual Technique
Now we’re at the part everyone wants to talk about first.
Cut the tip of the caulk tube at a 45-degree angle. Start small. You can always cut more off but you cant put it back. The size of the opening controls the bead size. For most bathroom caulk lines, you want maybe a quarter inch opening, not bigger.
Load the tube into the gun with the angled cut facing the direction you’ll pull. Not push. Pull. You’re going to drag the gun toward you, not push it away. Pushing causes the caulk to bunch up and creates uneven beads.

Apply steady pressure and move at a consistent speed. This takes practice. Your first line will probably be ugly. Thats fine. Have paper towels ready.
For smoothing, you have options. Wet finger works if you keep rewetting. Caulk finishing tools exist and they work well for baseboards and trim where you want crisp lines. Some people use the back of a plastic spoon.
Here’s my technique for how to caulk a bathtub: I run the bead, then I take my index finger, dip it in a cup of water with a tiny bit of dish soap, and I smooth in one continuous motion. The soap keeps the caulk from sticking to your finger. Rewet before each line.
Baseboards and Trim
How to caulk baseboards is the same basic process but the stakes are lower. You’re not dealing with constant water exposure. You’re filling gaps between the baseboard and the wall, between trim pieces at corners.
Use painters caulk, the latex stuff. You’ll paint over it. Apply a thin bead, smooth with your finger or a damp rag, let it dry, then paint. That’s it.
The gap between baseboards and floor is different. Some people caulk it, some people don’t. I don’t. Floors expand and contract, especially hardwood, and caulk in that gap tends to crack. Leave it alone or use quarter round to cover it. Thats not really caulking thats trim work.
For how to caulk trim around doors and windows, same deal as baseboards. Latex caulk, thin bead, smooth, paint. Nothing fancy.
How Long Does Caulk Take to Dry
Depends on the type. Silicone takes 24 hours to fully cure but it’s touch-dry in a few hours. Latex dries faster, maybe 30 minutes to an hour before you can paint.
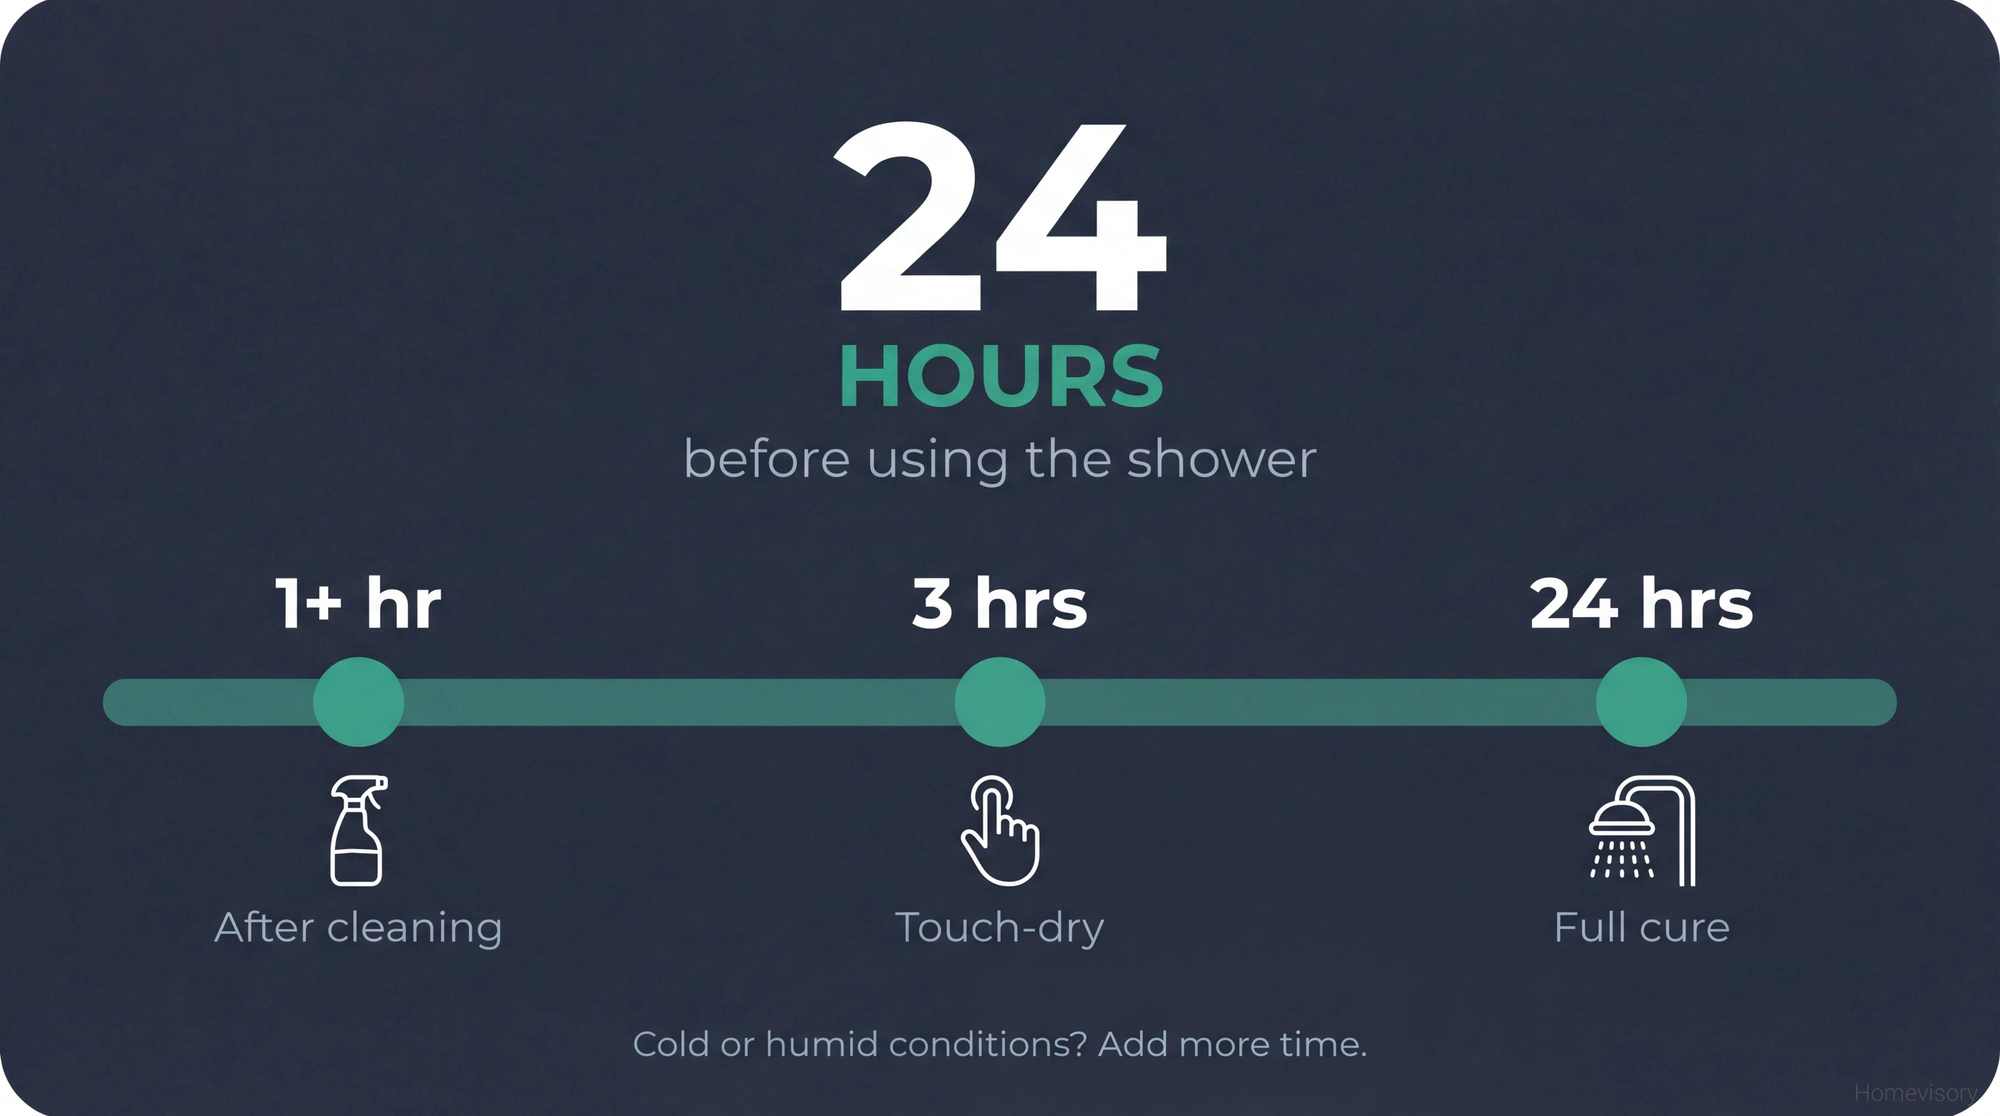
For bathrooms, dont use the shower for 24 hours after caulking. I know people who did, who figured it was dry enough, and the caulk never bonded right. Just wait.
Temperature and humidity matter. Caulk cures slower in cold or damp conditions. If youre caulking in a bathroom with no ventilation, run a fan.
The Little Things
Mr. Davis, my woodshop teacher back in Atlanta, he used to talk about grain direction in wood. Unrelated, mostly. But he had this thing about patience, about how the wood tells you what it wants to do and you have to listen and not force it. I think about that sometimes with caulk too. Not because caulk has grain but because rushing never works. The surface tells you when its ready. If its still wet or still has residue or still has old caulk film, its not ready. Listen. But yeah.
My kids leave the shower curtain bunched up in the corner instead of spreading it out to dry. Every time. I’ve explained that water pools where the curtain bunches and that pooled water sits against the caulk line and makes it fail faster and they look at me like I’m speaking another language. Janelle once said “Dad, its just a shower curtain.” Its never just a shower curtain.
Common Mistakes
Caulking over old caulk. Already covered this. Dont do it.
Too much caulk. More is not better. A fat bead looks messy and takes forever to dry and doesn’t seal any better than a thin one. Less is more.
Caulking a wet surface. Wait for it to dry. Completely dry.
Using the wrong type. Silicone for water, latex for paint. Dont use latex in a shower and wonder why it fails.
Not finishing the whole bead. If you stop mid-line to reload or answer a text or whatever, youll have a visible seam. Do the whole run in one motion.
The Homevisory Approach
What I’ve been talking about here, the prep work, the waiting, the attention to detail, this is what we mean when we talk about home maintenance at Homevisory. Its not about becoming a professional contractor. Its about knowing when things need attention before they become expensive problems.
The shower caulk is a perfect example. That little line of silicone between your tub and tile is protecting hundreds of dollars of subfloor and framing and drywall. Same goes for your faucets — a leaky faucet dripping behind the escutcheon can cause the same kind of hidden water damage. If you ignore it, if you let it peel and gap and grow mold, youre not saving time. Youre buying a bigger problem on layaway.
Homevisory keeps track of this stuff for you. The Homevisory home task manager sends reminders when its time to check your caulk, inspect your grout, run maintenance on all the things that quietly keep your house from falling apart. Free to sign up. No reason not to use it.
Caulking is one of several bathroom maintenance tasks that prevent expensive water damage. Our complete bathroom cleaning guide covers grout, tub cleaning, mold prevention, and everything else that keeps your bathroom in shape.
Prep twice, caulk once.