
What Even Is a Faucet Aerator
Most people have no idea this thing exists until their water pressure drops to nothing and they start googling why their kitchen faucet dribbles like a broken drinking fountain.
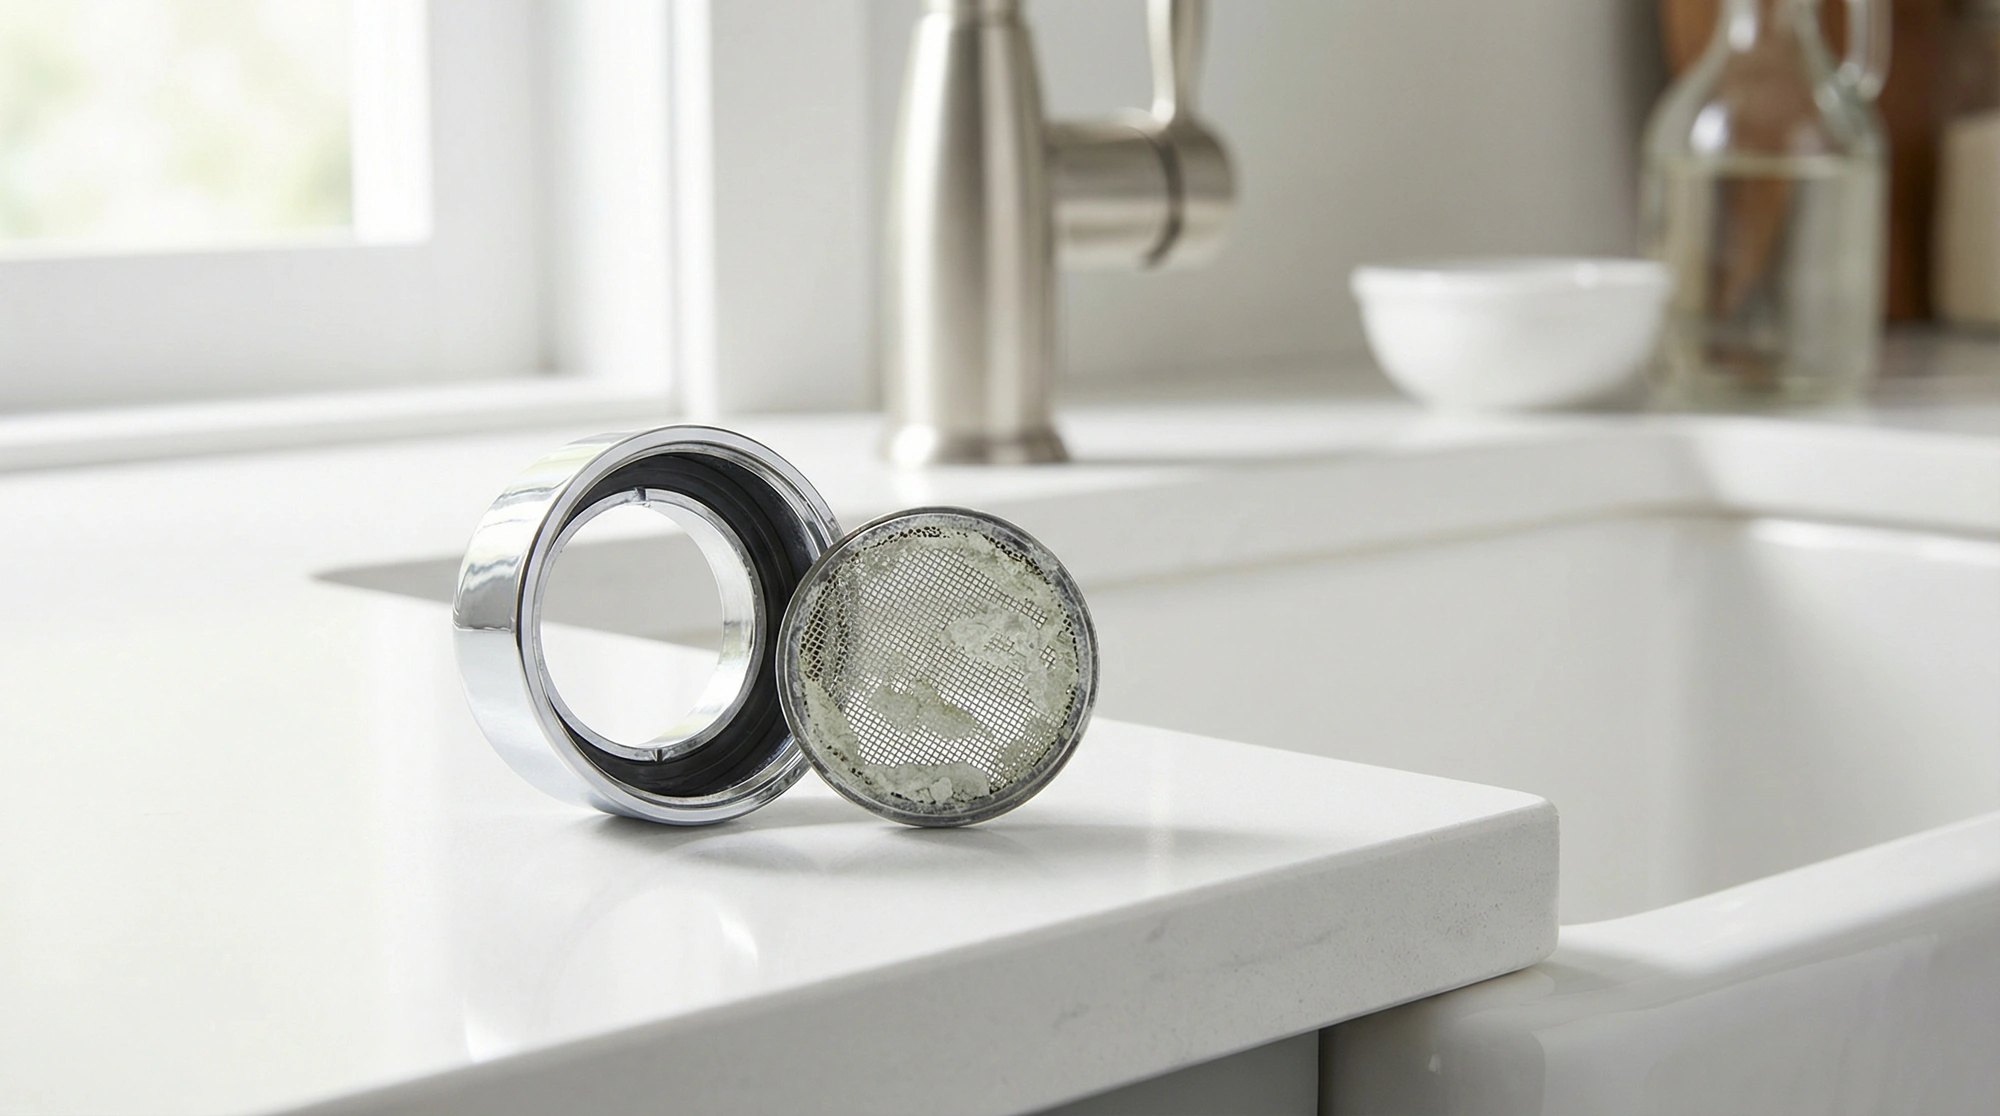
The aerator is that little mesh screen screwed onto the end of your faucet. Thats it. Its a small piece, usually metal or plastic, that mixes air into the water stream. This does two things: it reduces splashing and it cuts down on how much water you actually use. The EPA says that a WaterSense labeled aerator can reduce your faucet’s water flow by 30 percent or more compared to standard flow, without you noticing any difference in performance. Thats 700 gallons a year for the average family just from sink faucets.
But heres the thing. That little screen catches everything. Mineral deposits, sediment, bits of pipe, whatever’s floating through your water lines. Over time it clogs up. And when it clogs, your water pressure suffers.
How to Remove Faucet Aerator (Step by Step)
This is a five-minute job. Maybe ten if yours is stuck. I’m going to walk through this assuming you’ve never touched the underside of a faucet before.
What You Need
- Pliers or a wrench (maybe)
- A rag or rubber grip pad
- White vinegar
- Old toothbrush
- Small bowl
You dont need any specialty tools. I’ve seen aerator removal kits sold online and at hardware stores. You dont need them. Your fingers and maybe pliers. Moving on.
The Actual Removal
Turn off the water? No. You dont have to. The aerator is downstream of the valve. Just dont turn the faucet on while the aerator is off unless you want water spraying everywhere.
Try unscrewing it by hand first. Grip the aerator housing, which is that metal piece at the very end of the spout, and turn it clockwise. Yes, clockwise. Aerators thread on backwards from what youd expect, what plumbers call “left-hand threads” on some models but actually most residential ones are standard reverse-thread from the faucet’s perspective. Just remember: looking up at it from below, turn it to the right to loosen.
If it wont budge by hand, wrap a rag around it and use pliers. The rag protects the finish. I’ve seen people scratch up nice brushed nickel faucets because they went straight to the channel locks. Dont be that person.
If its really stuck, pour some vinegar around the base where it threads on. Let it sit for ten minutes. The acid breaks down mineral buildup thats probably welding it in place.
One thing I should mention. The New Jersey Department of Health actually warns that removing old aerators, especially ones that havent been cleaned in years, can be difficult and may damage your faucet due to rust or corrosion. If youre forcing it and something feels like its about to crack, stop. Replacement faucets cost more than your pride.
Why This Matters More Than You Think
I want to spend some time on this because I think people underestimate what’s actually happening inside that little screen. Your water travels through miles of pipe before it gets to your house and then more pipe inside your walls and every bit of sediment and mineral deposit and random particulate that breaks loose along the way ends up at one of two places: your aerators or your water heater. The aerator is basically a final filter that catches everything right before the water hits your hands. In older homes especially, homes built before 1986, you might have lead solder in your pipes or older fittings that can shed particles. The CDC is clear about this: sediment, debris, and lead particles can collect in your aerator, and there’s no safe level of lead exposure especially for kids. This isnt me being dramatic. This is why cleaning your aerator matters. Its not just about water pressure. Its about what youre washing your vegetables with.
The Consumer Product Safety Commission recommends regularly cleaning or replacing your faucet’s aerator when using that faucet for drinking or cooking water. They also suggest flushing faucets for 15 seconds after the water hasnt run for six hours or more. Thats first thing in the morning, basically.
Cleaning the Aerator
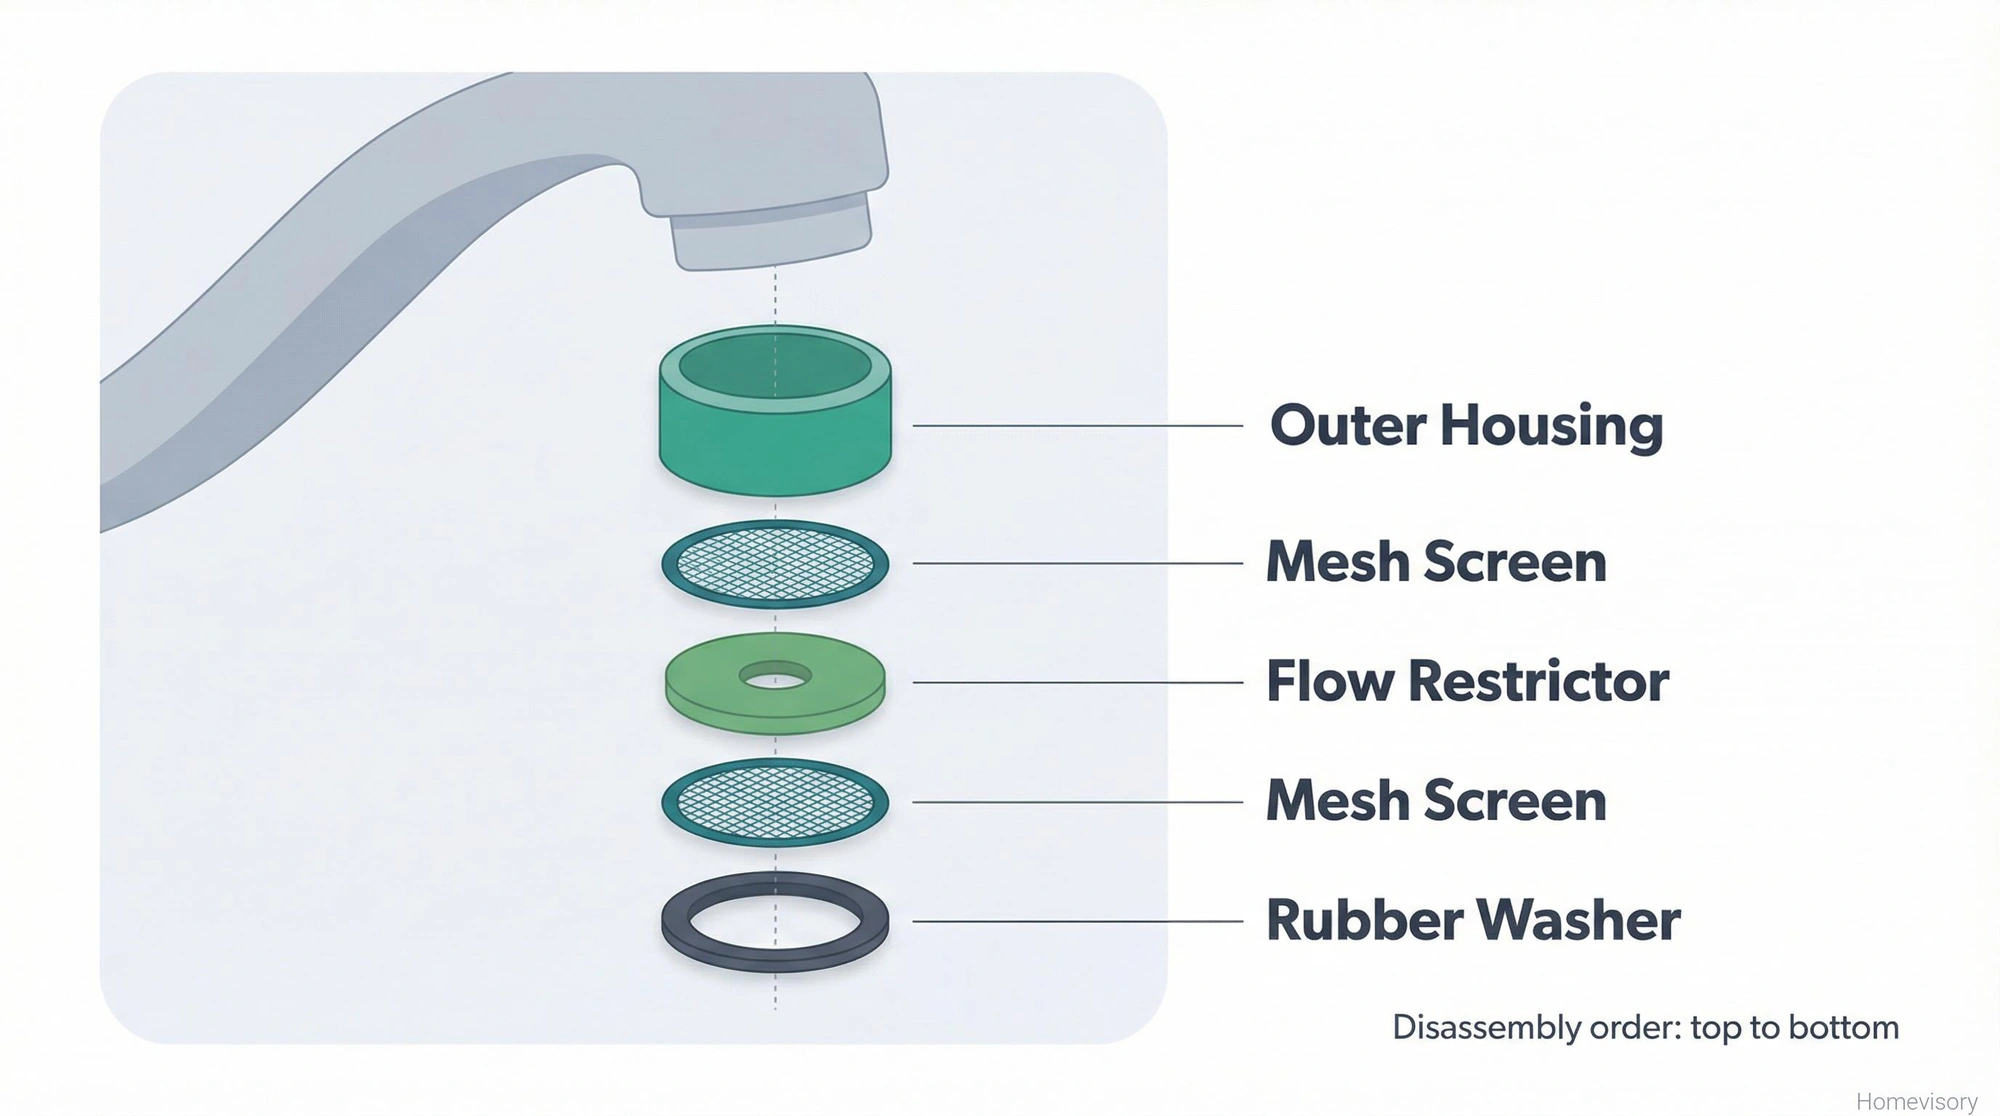
Once you get it off, take it apart. There are usually multiple pieces: an outer housing, one or two mesh screens, maybe a flow restrictor disc, and a rubber washer. Lay them out in order so you remember how they go back together.
Mr. Davis, my woodshop teacher back in Atlanta, used to say “take it apart slow, put it back together slower.” He was talking about furniture joints. But it applies here too. Lose that rubber washer and your faucet leaks. Ask me how I know.
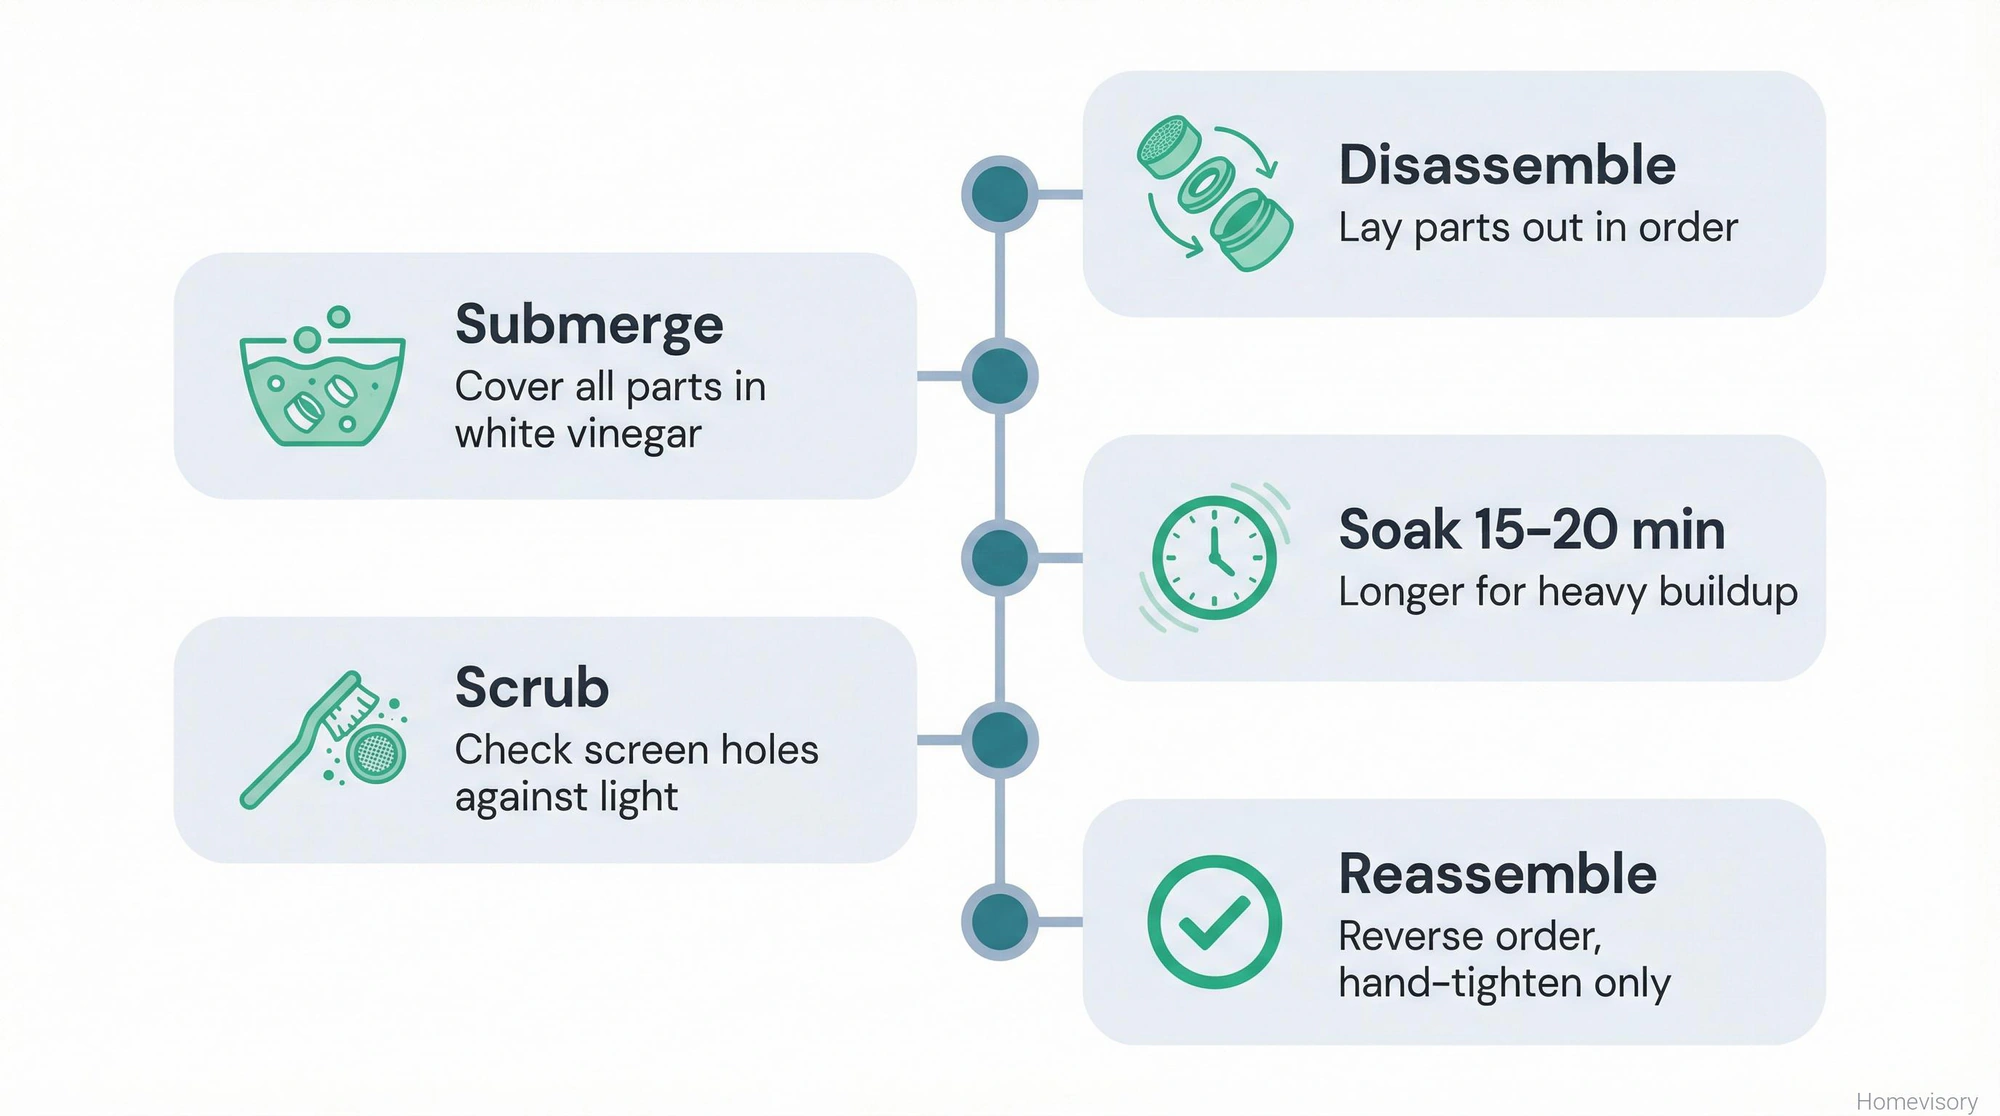
Denver Water recommends soaking all the parts in white vinegar for at least five minutes. I usually do fifteen or twenty if theres visible buildup. The vinegar dissolves calcium and lime deposits. After soaking, scrub each piece with an old toothbrush. Get into all the little holes in the mesh screen. Hold it up to the light. You should be able to see through it clearly when youre done.
If the screen is damaged or so clogged that vinegar and scrubbing wont clear it, just replace the whole aerator. Theyre three to eight dollars at any hardware store. Bring the old one with you to match the thread size.
Reassemble in reverse order. Hand-tighten only. You dont need to crank on it with pliers going back on.
How Often Should You Do This
Macomb County Health Department says every six months minimum for your drinking water faucet. If theres construction or repairs happening to water mains near your home, do it monthly until the work is done.
I do mine seasonally. Every time the season changes, I clean the kitchen faucet aerator and the bathroom sink. Takes five minutes total once you know how to remove a faucet aerator without fighting it. The bathroom ones tend to be worse because of hard water buildup from toothpaste and soap scum and whatever else gets sprayed around.
My dad Curtis used to yell at us kids for leaving the faucet running while we brushed our teeth. “Water costs money,” he’d say. We were like eight years old. We had no concept of utility bills. I think about that now when I’m cleaning aerators at my own house, how much water we probably wasted, how a clogged aerator actually forces more water through because people turn the handle further when the pressure drops. Anyway.
When You Might Have a Bigger Problem
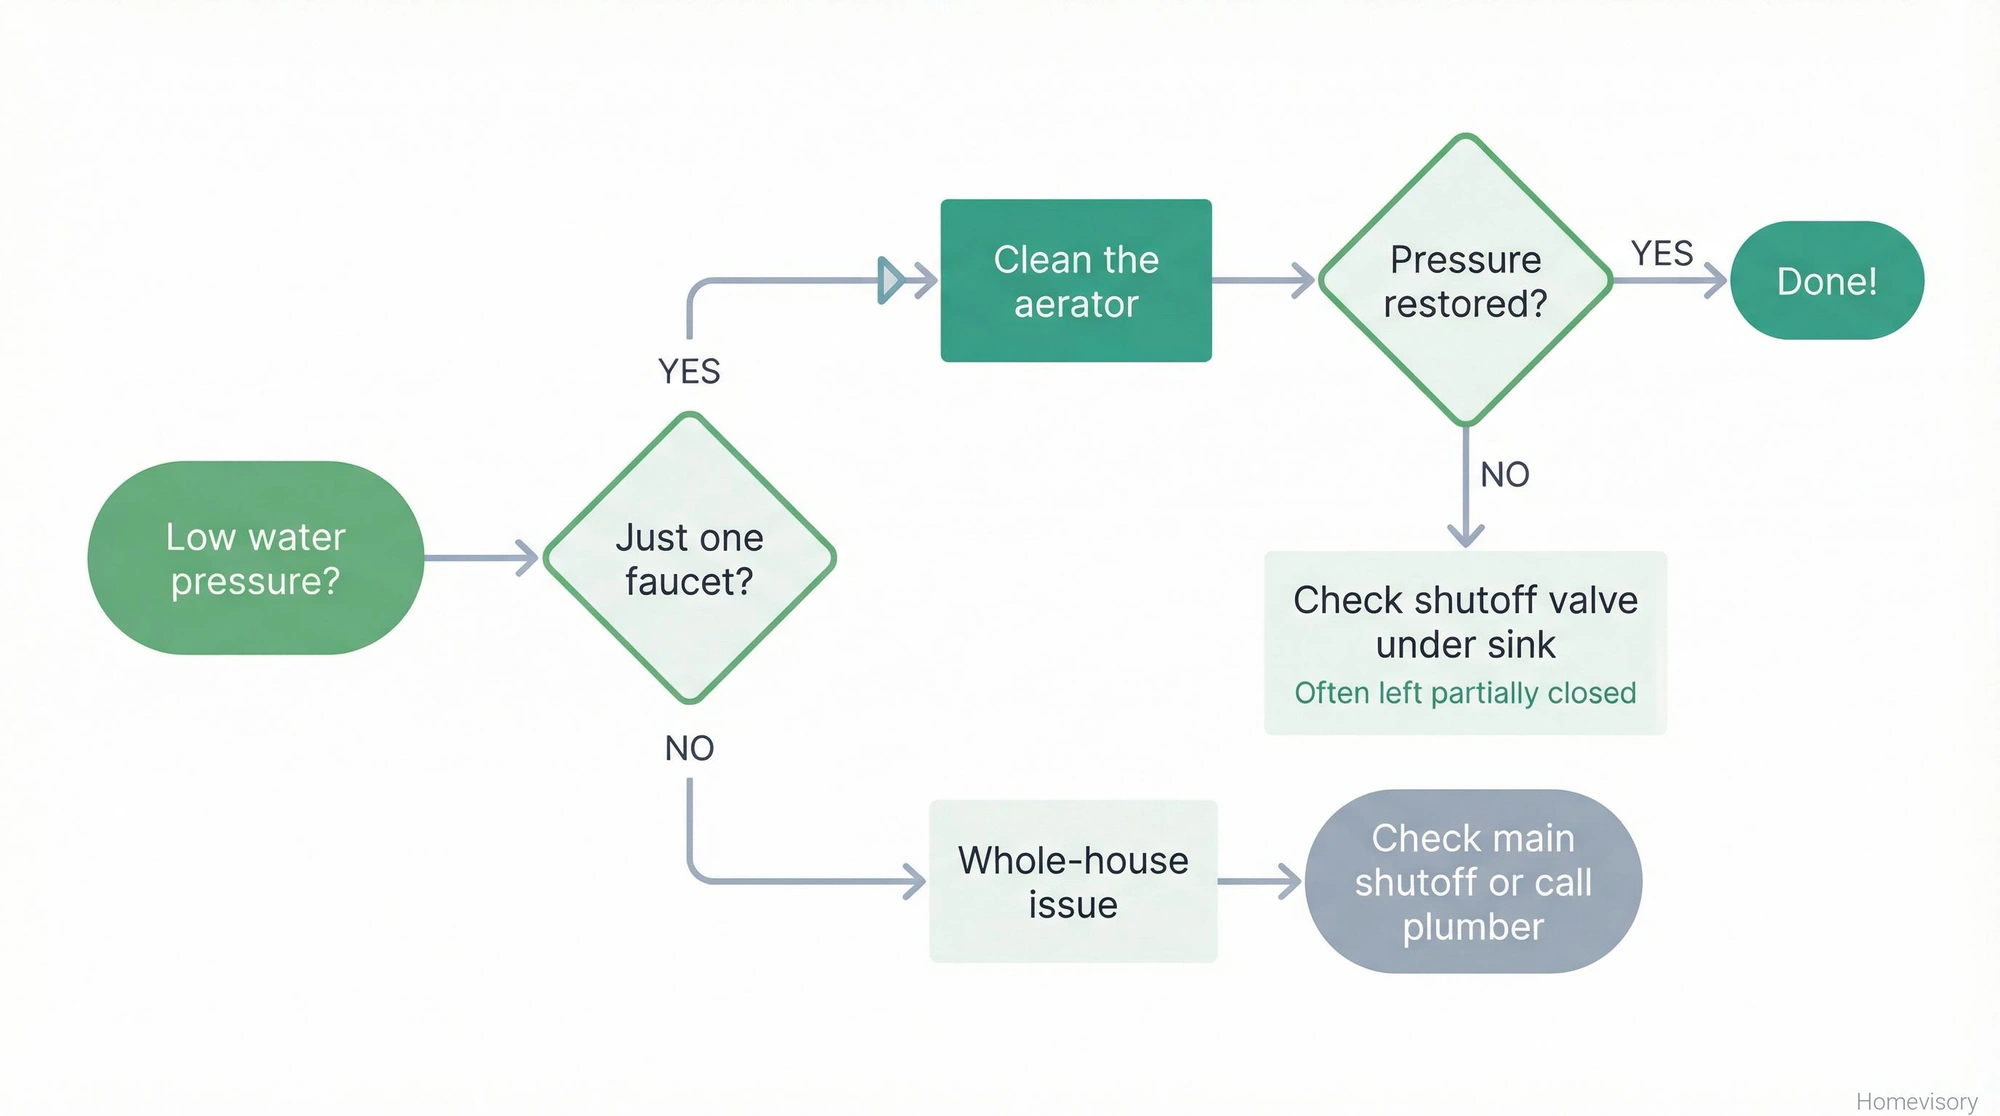
Low water pressure after cleaning the aerator means the clog is somewhere else. Could be the supply line, could be the valve under the sink, could be a whole-house issue. I had a client once whose kitchen faucet had such low pressure she thought the aerator was the problem. I got the aerator off and it looked like a science experiment in there, green and white crust completely blocking the screen. Cleaned it out, put it back, pressure was still garbage. Turned out her shutoff valve under the sink was half-closed. Her husband had been “working on something” six months earlier and never fully reopened it. Fixed it in two seconds but she’d been living with drinking fountain pressure for half a year.
If the aerator is corroded or fused onto the faucet and youre about to break something trying to remove it, stop. Call a plumber. Im not getting into rates here.
A Note on Replacement Aerators and Water Savings
If youre replacing an old aerator anyway, consider upgrading to a WaterSense labeled one. The Department of Energy sets federal standards at 2.2 gallons per minute max, but WaterSense models flow at 1.5 gpm or less. You wont notice the difference when washing your hands. You will notice it on your water bill eventually.
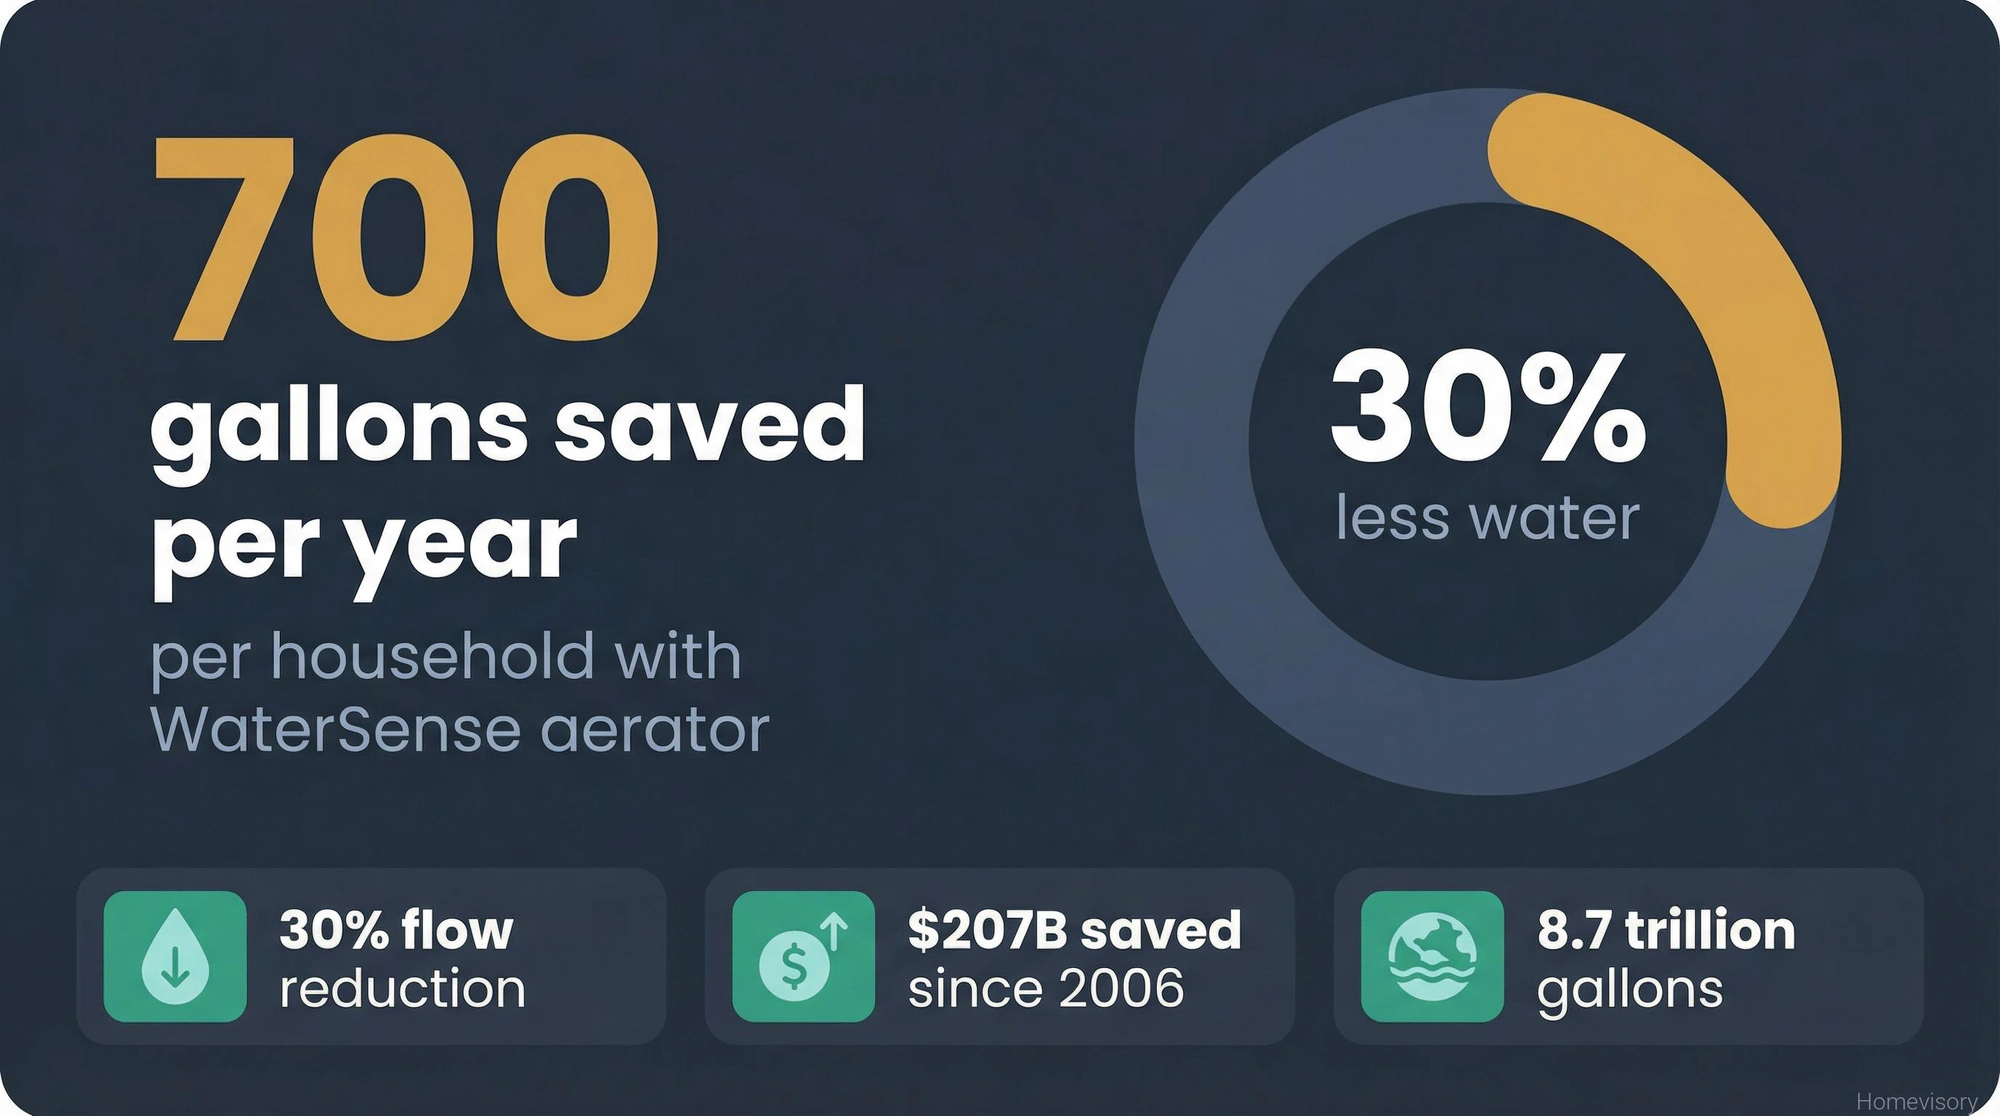
According to the EPA, since WaterSense started in 2006, the program has helped consumers save over 8.7 trillion gallons of water and more than $207 billion in water and energy bills. Thats not nothing. A chunk of that is faucet aerators.
The first time I fixed something at my parents’ house after moving out was the kitchen faucet. Replaced the aerator and the whole faucet handle assembly because it was dripping. Mom was impressed, asked where I learned to do that. Dad said something like “about time you made yourself useful.” I was twenty-two maybe. Probably that one.
The Simple Version
Knowing how to remove faucet aerator screens and clean them is basic homeowner stuff that most people never learn. Unscrew counterclockwise from your view, use a rag with pliers if stuck, soak in vinegar, scrub with a toothbrush, reassemble. Done.
Do it every six months. Your water pressure stays consistent. Your water stays cleaner. It takes five minutes.
This is exactly the kind of small maintenance task that Homevisory helps you stay on top of. Our free Homevisory home task manager sends you reminders before these little jobs become expensive problems. Nobody remembers to clean their aerator until the water pressure dies. Same goes for your shower head — same mineral buildup problem, same vinegar fix. Let us remember for you. Sign up at Homevisory and start building a maintenance schedule that actually works.