
A dripping faucet is one of those things that starts small and then slowly drives you insane. Drip. Drip. Drip. At 2 AM when youre trying to sleep. My wife Raquel used to elbow me awake and say “are you going to fix that or am I going to have to listen to it for another six months.” She wasnt wrong. I let that bathroom faucet drip for way too long.
Heres the thing about learning how to fix a leaky faucet: its not complicated. Most people overthink it or they get intimidated by the plumbing aisle at Home Depot and just call someone. And look, if you want to pay a plumber, thats fine. Professional repairs typically cost between $150 and $350 depending on whats wrong. But if the fix is just replacing a worn washer or O-ring, youre looking at a few dollars in parts and maybe an hour of your time.
The real cost of ignoring a leaky faucet isnt the repair bill anyway. The EPA says a faucet dripping at one drip per second wastes more than 3,000 gallons of water per year. Three thousand gallons. From one faucet. I did the math once and decided I’d rather spend Saturday morning fixing the problem than paying for water going straight down the drain.
Before You Touch Anything
I’m going to spend more time on this section than you probably think is necessary. I dont care.
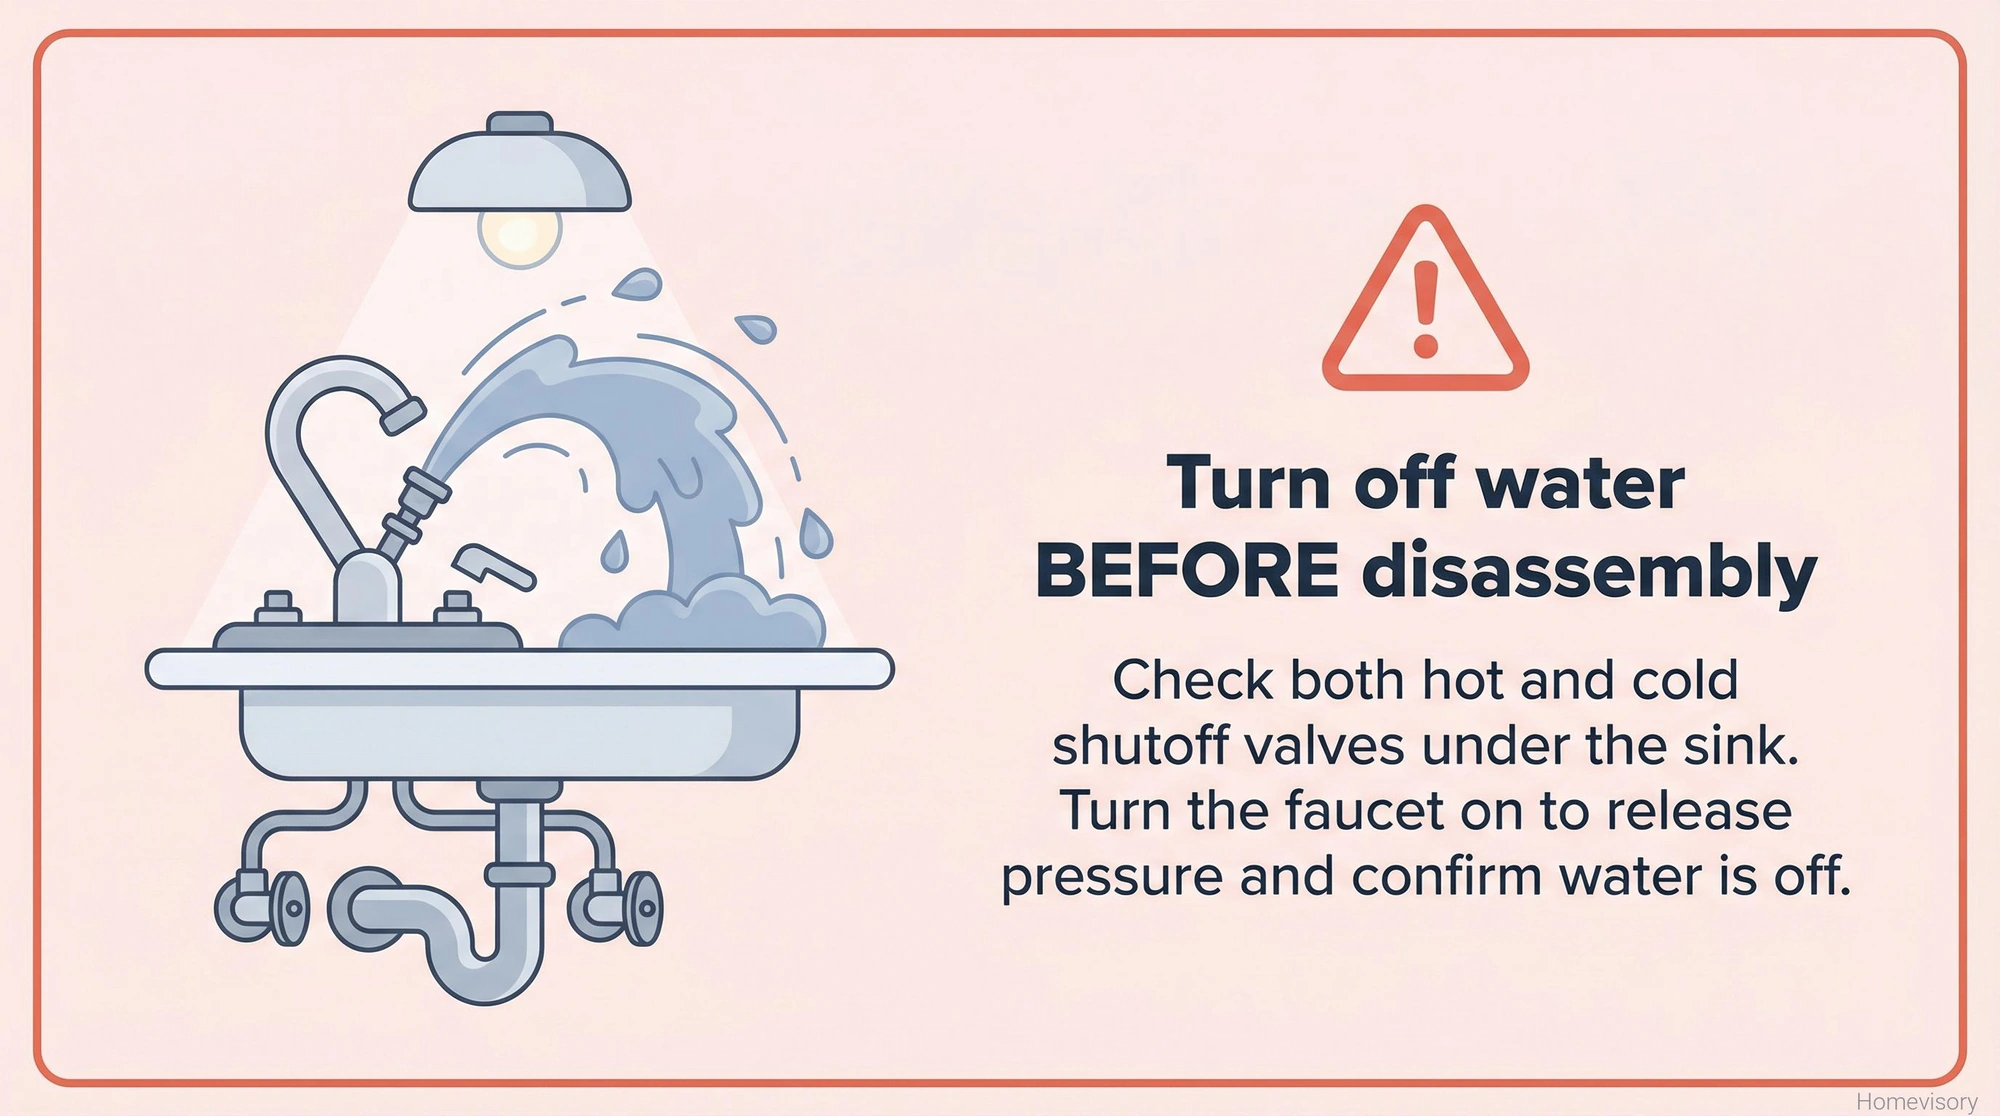
Turn off the water supply. I know that sounds obvious. I know youre thinking “yeah yeah, I know to turn off the water.” But I have seen, personally witnessed, grown adults start unscrewing faucet components with the water still on and then act surprised when their kitchen turns into a splash pad. One guy I worked with back in my renovation days, he was experienced, he knew better, and he still forgot once because he was rushing. Water sprayed across the ceiling. Soaked the light fixture. His wife was not happy. The shutoff valves for your sink are usually underneath, near the water supply tubes. Turn them clockwise. Both of them, hot and cold. Then turn the faucet on to release any remaining pressure and make sure the water is actually off. If you dont have shutoff valves under your sink, you need to shut off the main water supply to your house, and honestly you should add shutoff valves later because thats a safety issue.
Plug the drain. Small parts. Sink drains. You see where this is going.
Get your tools together before you start. Adjustable wrench, Phillips and flathead screwdrivers, Allen wrenches, needle-nose pliers, and maybe a basin wrench if youre dealing with hard-to-reach nuts. Thats it. Moving on.
Identifying What Kind of Faucet You Have
My dad Curtis used to say, about something totally different, he used to say “know what youre working with before you start working.” He was talking about machines at the factory. But it applies here. You need to know what type of faucet you have before you buy replacement parts or start taking things apart.
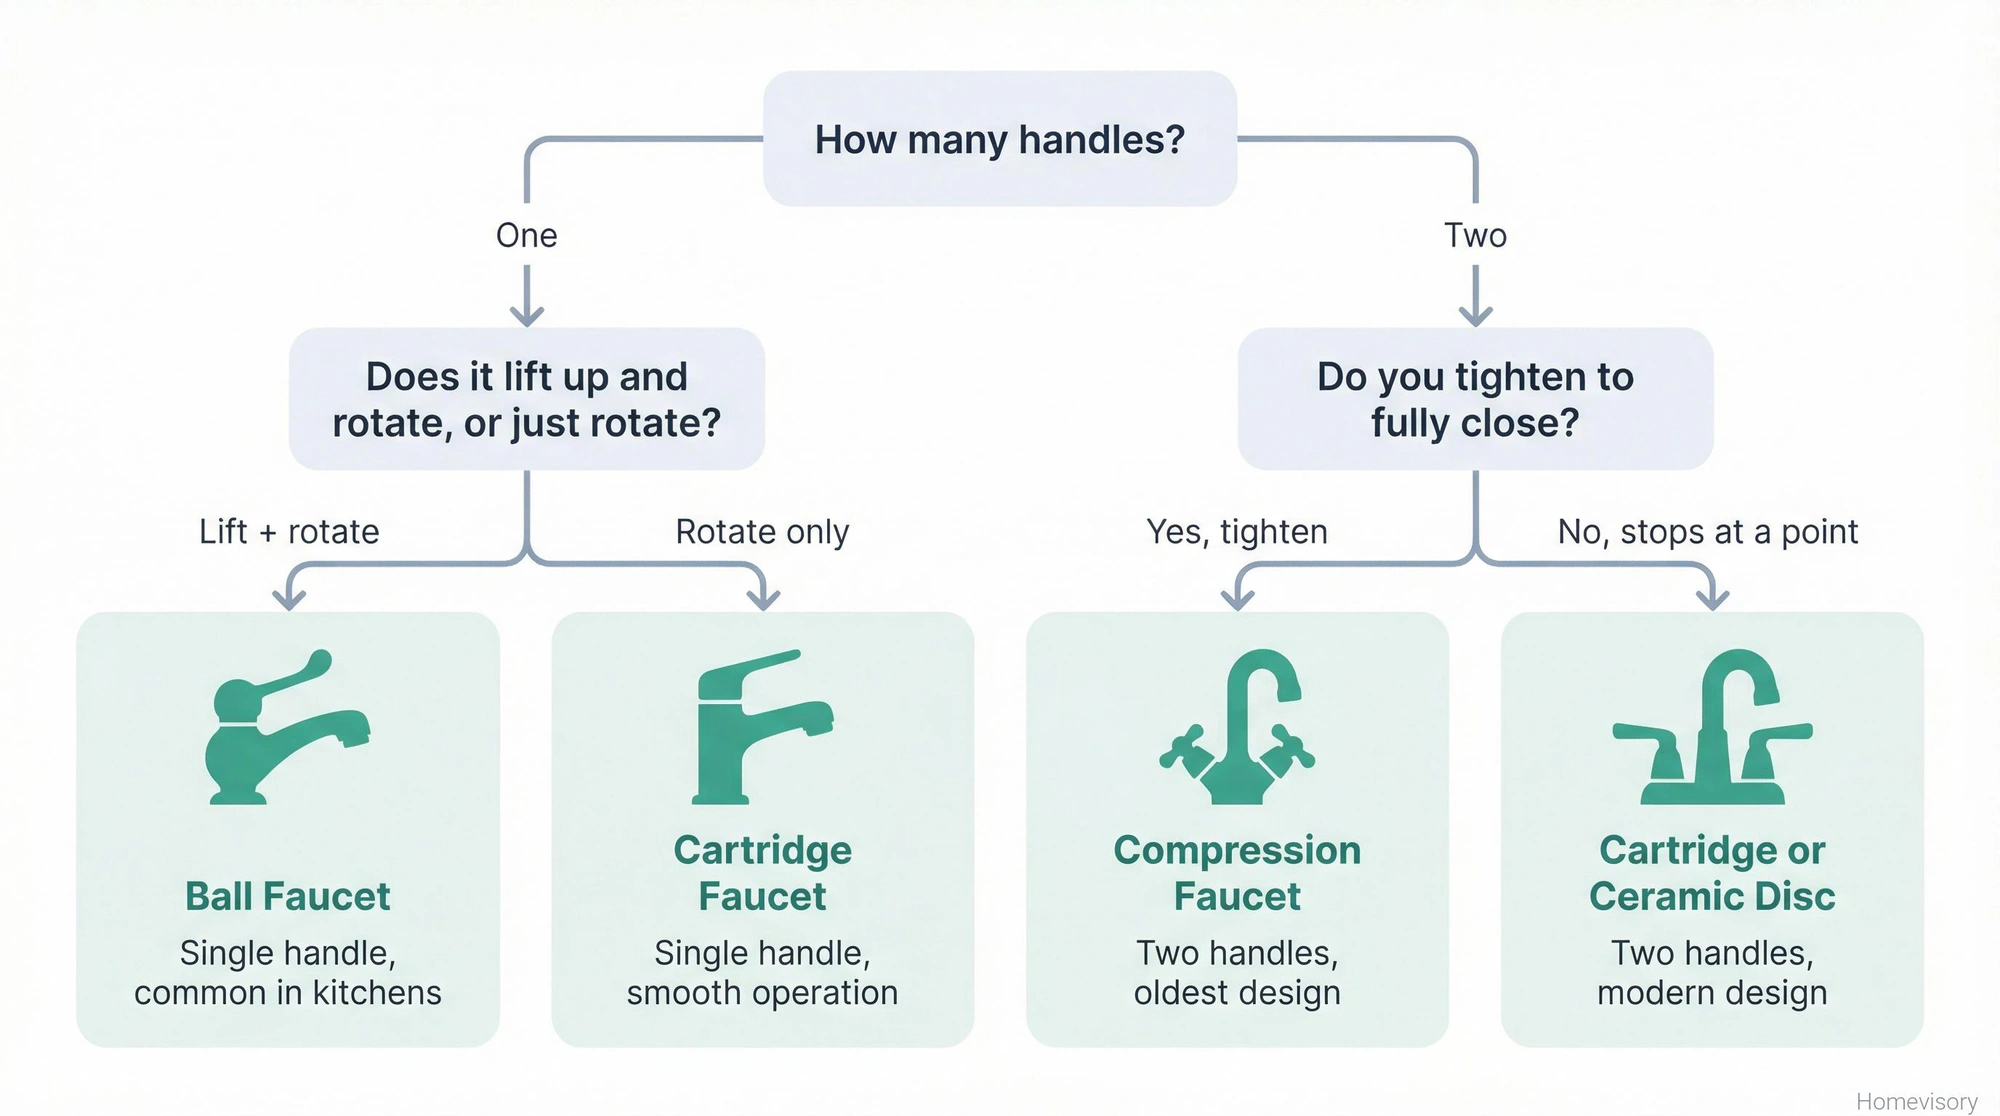
Four main types:
Compression faucets have two handles and they’re the oldest design. You tighten them to turn off the water. These use rubber washers that wear out.
Ball faucets are single-handle and have a ball bearing inside that controls flow and temperature. Common in kitchens. Lots of small parts.
Cartridge faucets can be single or double handle. The cartridge inside controls water flow. When they leak, you usually replace the whole cartridge.
Ceramic disc faucets are the newer ones. Single handle, usually. Two ceramic discs inside that slide against each other. More durable but not indestructible.
I’m not getting into the engineering differences between cartridge types here. What matters is that you look at your faucet, figure out which type it is, and then buy the right parts. Take a photo before you go to the hardware store. Or better yet, take the old parts with you once you remove them.
How to Fix a Leaky Kitchen Faucet
Kitchen faucets get used constantly. Four kids in my house meant that faucet ran dozens of times a day. Dishes, washing hands, filling water bottles, the dog bowls. So kitchen faucets wear out.
Most kitchen faucets today are either ball type or cartridge. Single handle, usually. If yours is dripping from the spout, the internal parts are worn. If its leaking from the base, you probably have a worn O-ring.
For a ball faucet:
- Remove the handle. Theres usually a set screw under a decorative cap. Pry off the cap, unscrew the set screw with an Allen wrench.
- Take off the cap and collar using pliers. Wrap them in tape so you dont scratch the finish.
- Remove the faucet cam, cam washer, and ball.
- Reach in with needle-nose pliers and pull out the inlet seals and springs. Theres usually two of each.
- Replace all of it. Seriously. You can buy a ball faucet repair kit for like eight dollars. Just replace everything while youre in there.
- Reassemble in reverse order.
For a cartridge faucet:
- Remove the handle same way. Set screw, pull off handle.
- Remove the retaining clip or nut holding the cartridge in place.
- Pull out the old cartridge. Sometimes they stick. Theres a cartridge puller tool if you need it.
- Put in the new cartridge. Make sure its oriented the same way as the old one or your hot and cold will be reversed.
- Reassemble.
The whole process takes maybe thirty minutes to an hour once you know what youre doing. Most plumbers charge between $45 and $200 per hour, so learning how to fix a dripping faucet yourself saves real money over time.
How to Fix a Leaky Bathtub Faucet
Bathtub faucets are a different situation because the working parts are often behind the wall. This is where things can get annoying.
I remember, years ago, I was doing some bathroom demolition on a job and a mirror slid off the vanity while I was working and shattered. Cut my palm open. Eleven stitches. Urgent care nurse asked what happened and I said “I got in a fight with a mirror.” She asked if I won. I said “does it look like I won.” Anyway. The point is bathrooms can be tricky spaces to work in and you should take your time.
If you want to know how to fix a leaky bathtub faucet, first identify whether it’s a two-handle or three-handle setup (the third is usually the diverter for the shower) or a single-handle unit.
For two-handle compression faucets, which are common in older bathtubs:
- Shut off water. I know I keep saying this.
- Remove the handle. Pry off the decorative cap, remove the screw, pull off handle.
- Use a bath socket wrench or deep socket to remove the stem assembly.
- At the bottom of the stem youll find a rubber washer held by a brass screw. Thats probably whats worn. Replace it.
- While youre in there, check the stem O-ring too and replace if its cracked or flat.
- Reassemble and test.
For single-handle cartridge bathtub faucets:
- Remove the handle and any trim pieces.
- Pull the retaining clip.
- Remove the old cartridge. Bathtub cartridges can be stubborn. Wiggle it.
- Install new cartridge, making sure orientation is correct.
- Reassemble.
How to fix a leaky bathtub faucet is basically the same process as the kitchen, just with less space to work and more awkward angles. If a plumber needs to access parts behind a wall, youre looking at a few hours of labor instead of the usual one hour. So its worth learning to do it yourself if you can.
How to Fix a Leaky Faucet Single Handle
Single handle faucets, whether in the kitchen or bathroom, are usually ball or cartridge types. I covered both above, but heres the short version for how to fix leaky faucet single handle designs:
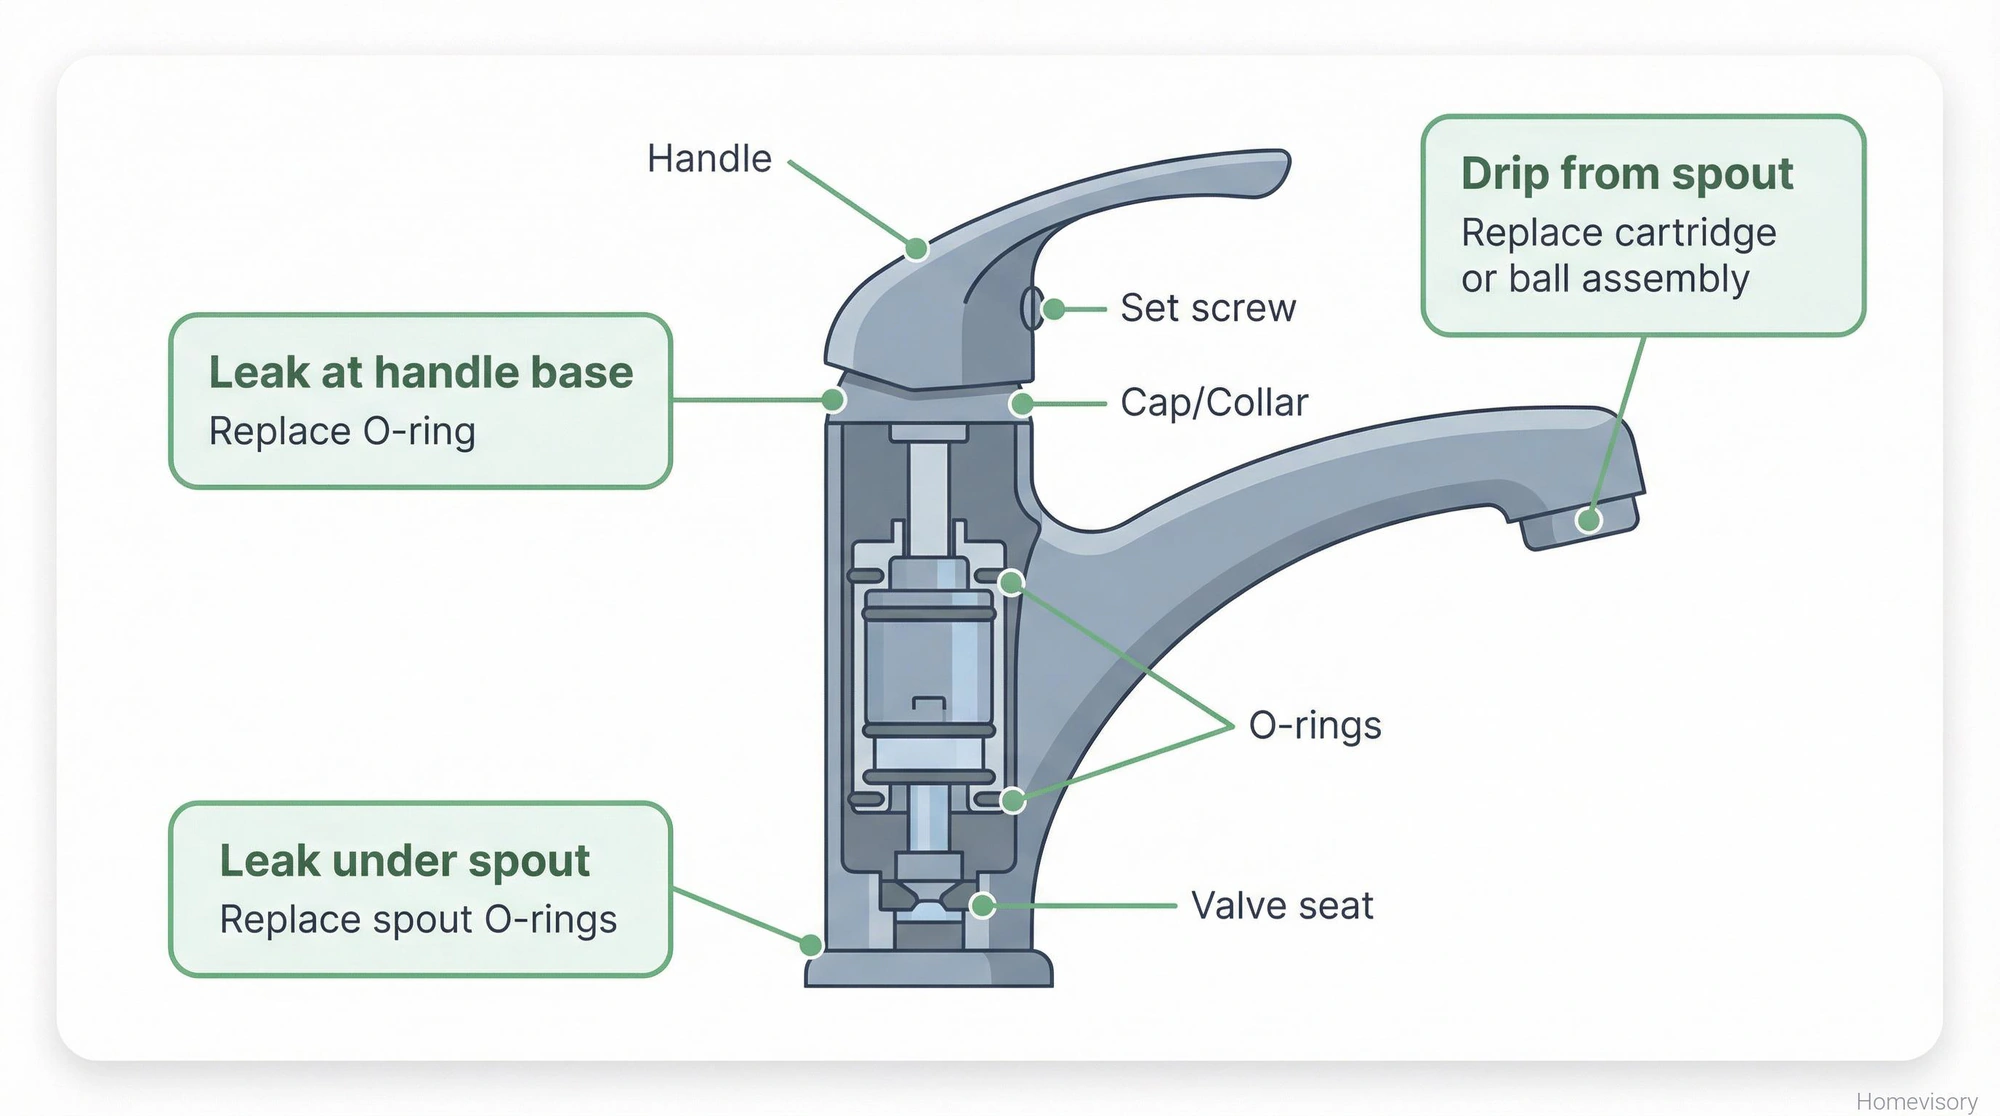
Drip from spout = internal parts worn. Replace the cartridge or the ball assembly plus seals and springs.
Leak from base of handle = O-ring worn. Remove handle, remove cartridge or ball, replace O-rings on the body.
Leak from under the spout (kitchen pull-down or pull-out types) = O-rings on the spout itself. Youll need to remove the spout to access them.
Whatever. Just identify where the water is coming from and work backward from there.
When to Just Replace the Whole Faucet
Sometimes a faucet is old enough or corroded enough that fixing it isnt worth it. Parts can be hard to find for discontinued models. Or the internal valve seat is damaged and you cant resurface it without special tools.
If youve fixed the same faucet twice in a year, replace it. If the parts cost more than thirty percent of a new faucet, replace it. If you just hate looking at it, replace it.
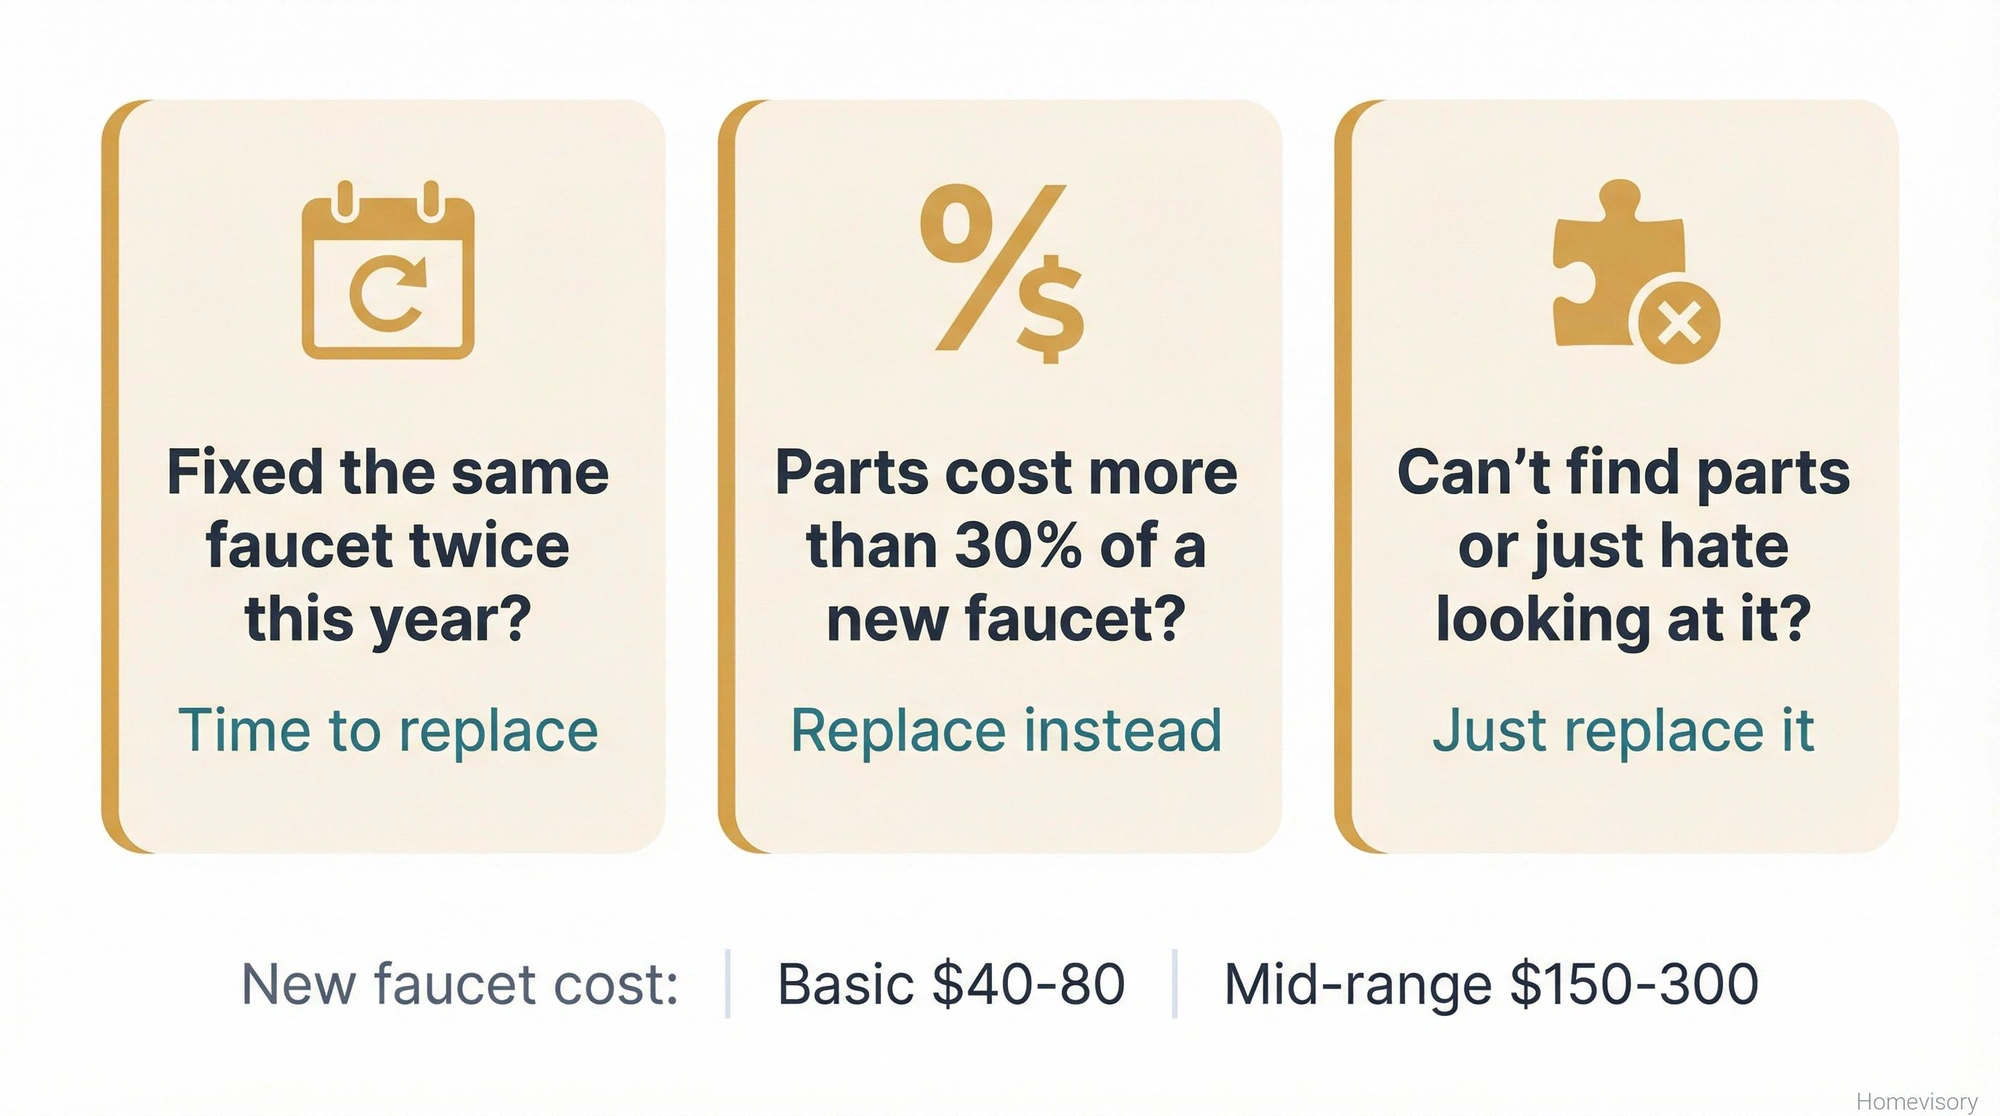
A basic faucet is forty to eighty dollars. A nicer one is $150 to $300. Your call.
The Real Cost of Ignoring the Problem
I mentioned this earlier but it bears repeating. The average household loses nearly 10,000 gallons of water per year to leaks. Thats not just faucets, thats toilets and showerheads and pipe leaks too. But faucets are the easiest to fix.
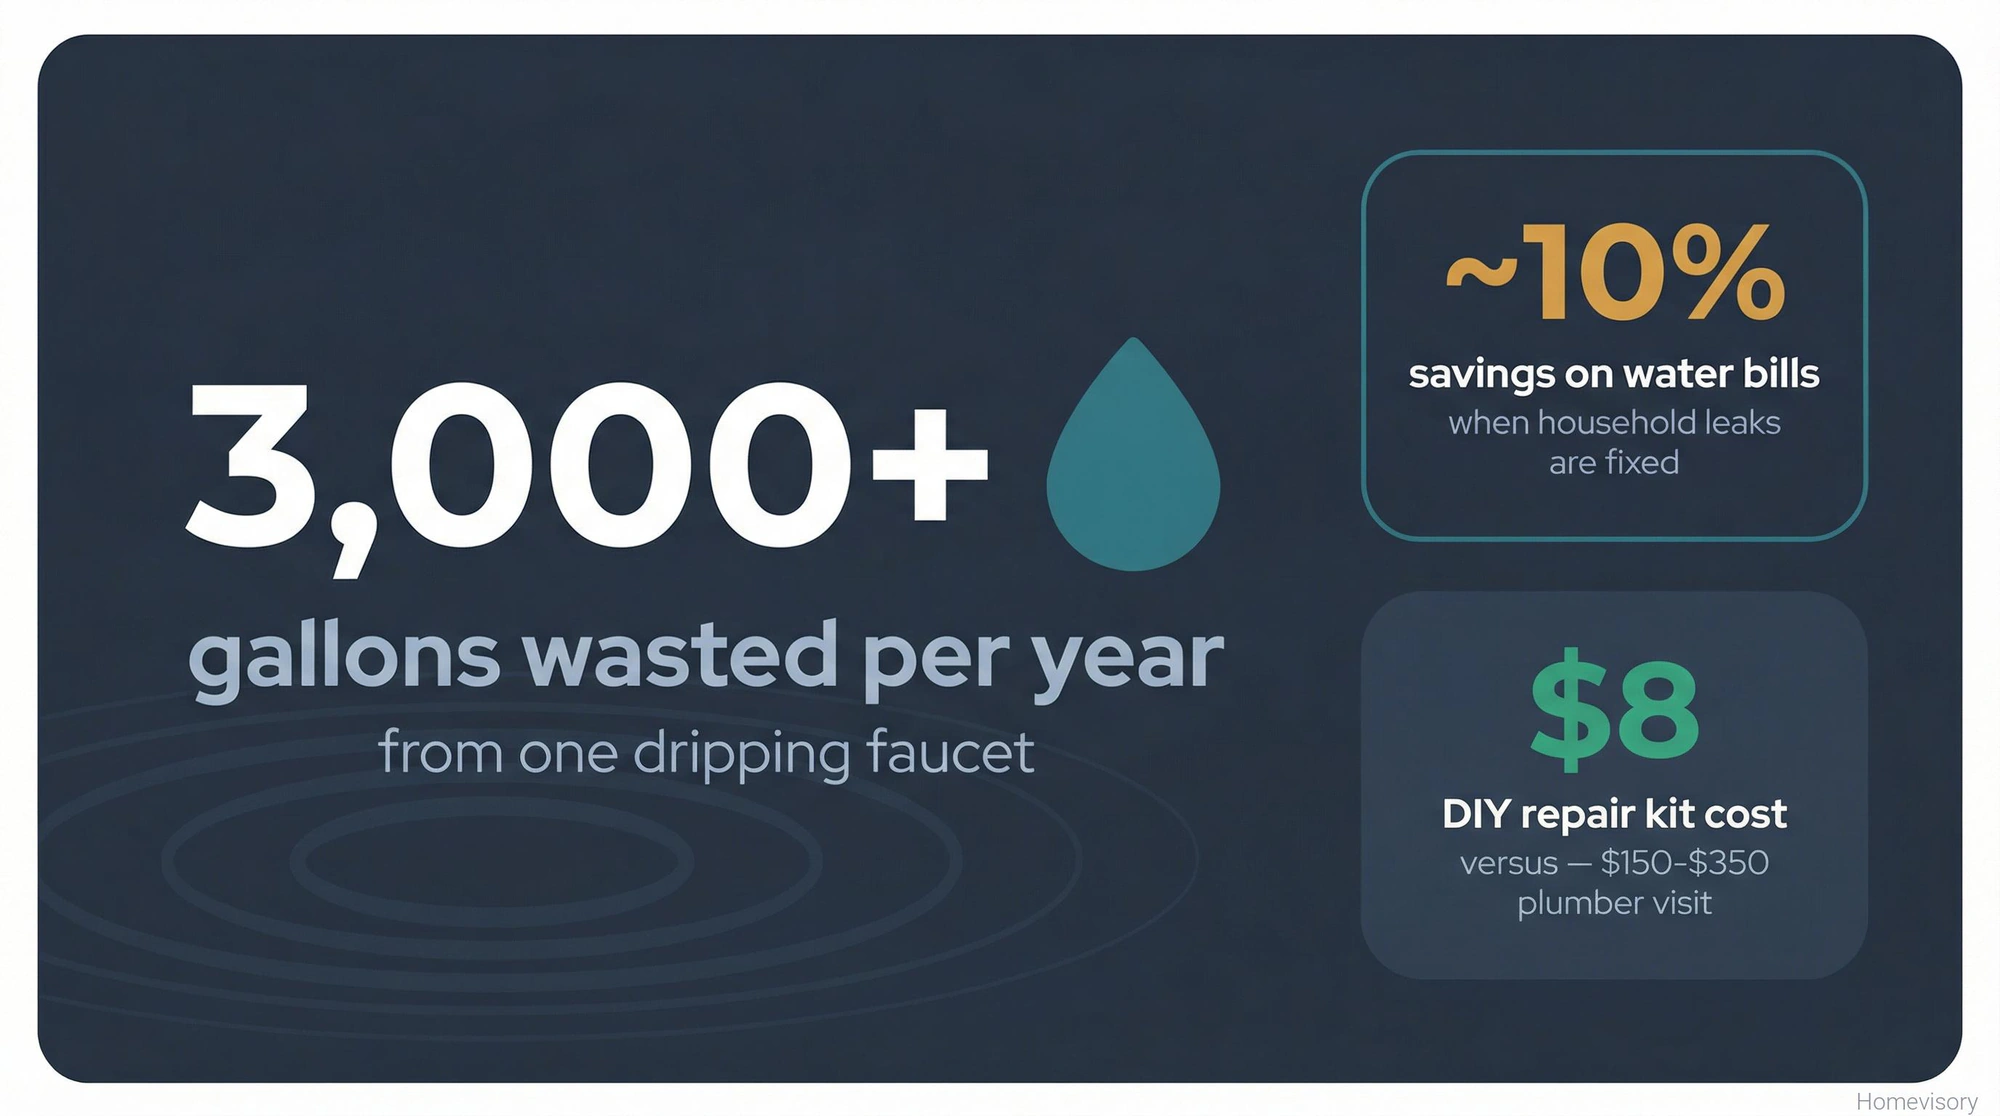
The EPA estimates that fixing simple leaks can save homeowners about 10 percent on water bills. Ten percent isnt nothing. And household leaks waste nearly 1 trillion gallons of water annually nationwide. Trillion with a T.
I think about my mom Shirley sometimes when I do this stuff. She would have been horrified at the idea of letting water just run down the drain. She grew up not wasting anything. I dont know if its a generational thing or just how she was raised but she would look at a dripping faucet like it was personally insulting her. I should call her. Anyway.
Keeping Track of Maintenance
The faucet fix is one thing. But staying ahead of all the other stuff, the filters and the drains and the seasonal tasks, thats where most people fall behind. That was me for years. I’d fix one thing and forget about three others.
Thats actually why we built Homevisory. David handles the tech side and I handle the content and between us we built a Homevisory home task manager that actually reminds you when things need attention. You can add your faucet repair to the log, track when you last replaced parts, get reminders for other maintenance. Its free to sign up and it keeps everything in one place so youre not relying on memory or random sticky notes.
A dripping faucet is small. But small things become big problems when you ignore them long enough. Fix it now. Future you will appreciate it.