
Screen Doors Are Simple Until Theyre Not
Screen door repair is one of those things that looks easy until youre standing there with a torn screen, a cat that escaped three times this week, and no idea what a spline roller is. I get it. Most people either ignore the problem or slap some tape on it and hope for the best.
Dont do that. Moving on.
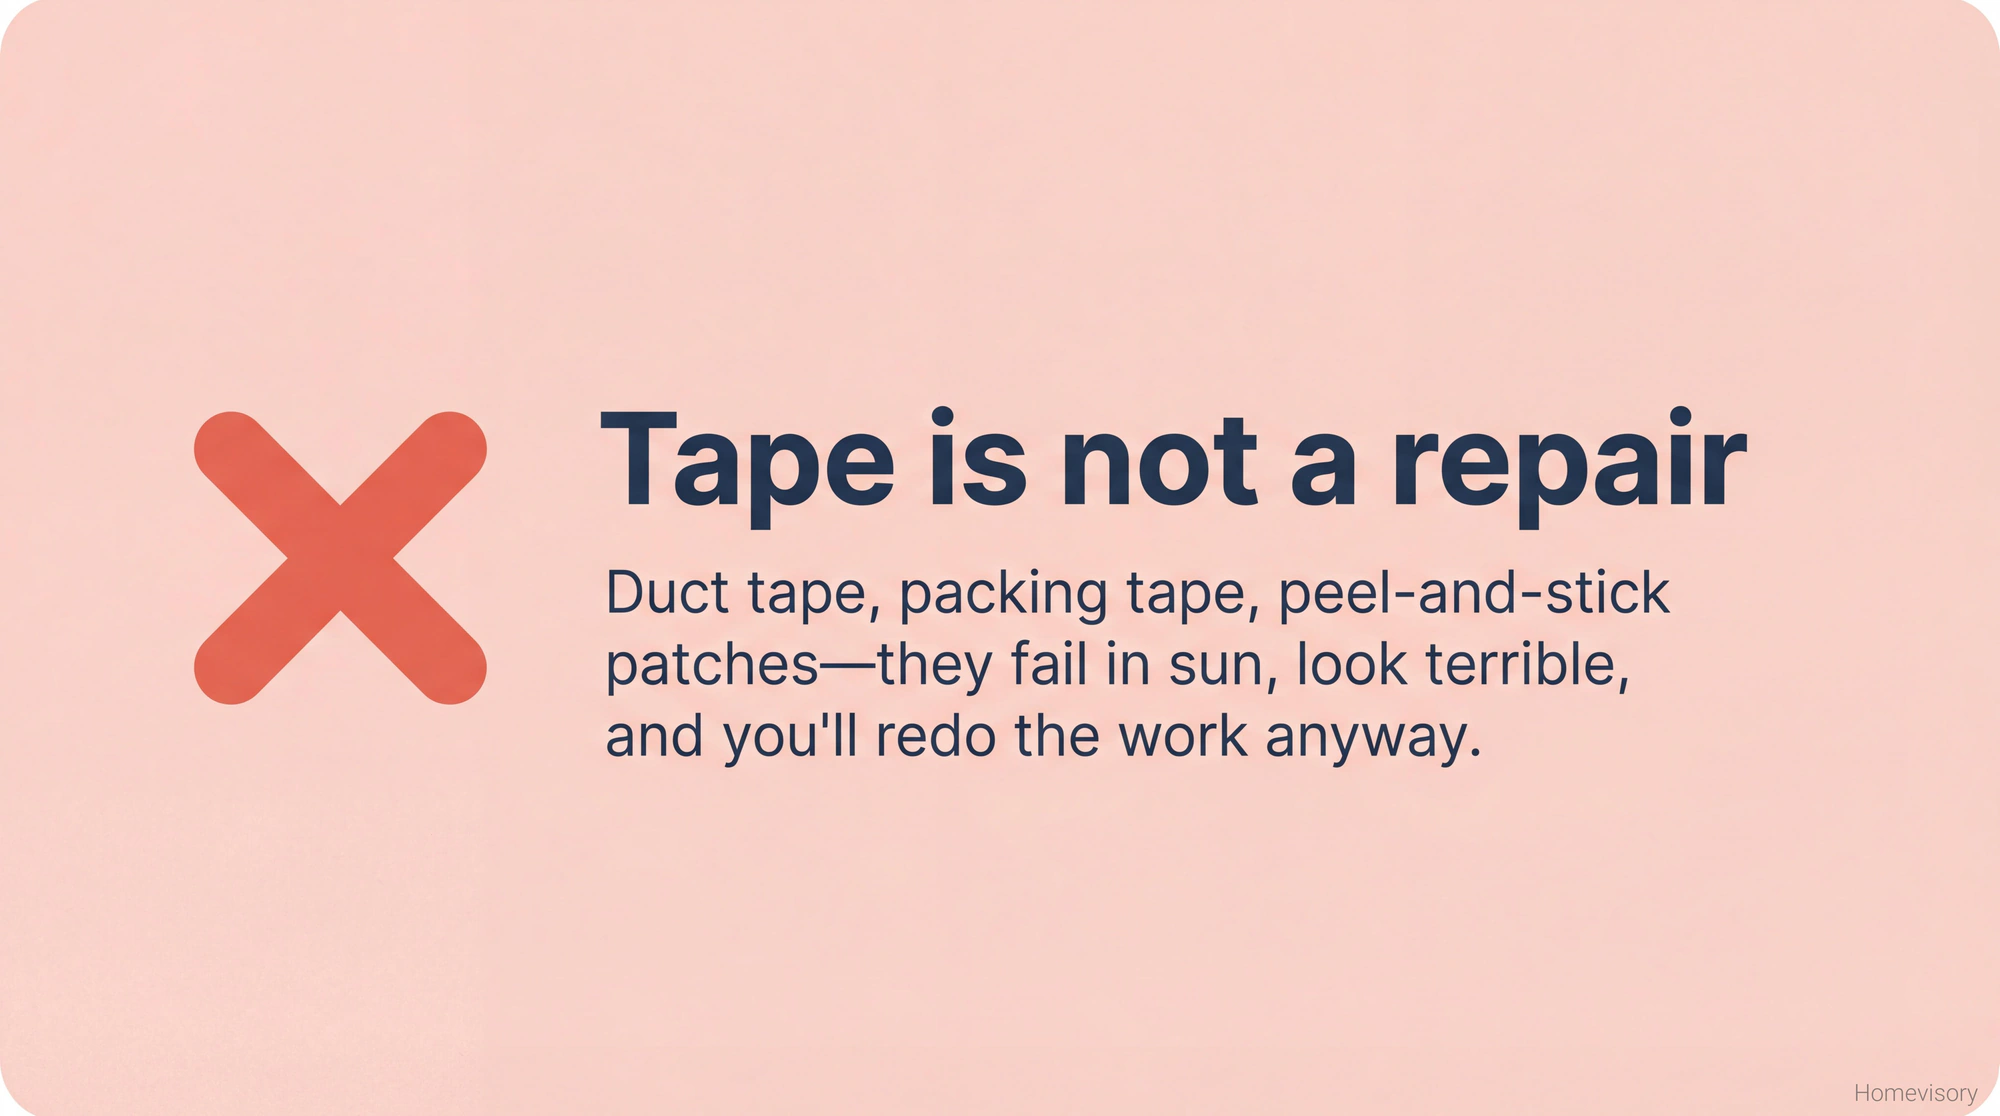
The good news is that fixing a screen door is genuinely not complicated. Its also not expensive. Were talking about twenty dollars in materials and maybe an hour of your time if you take it slow. The bad news is that most online guides make it sound harder than it needs to be or they skip the parts that actually matter.
First Figure Out What Youre Actually Fixing
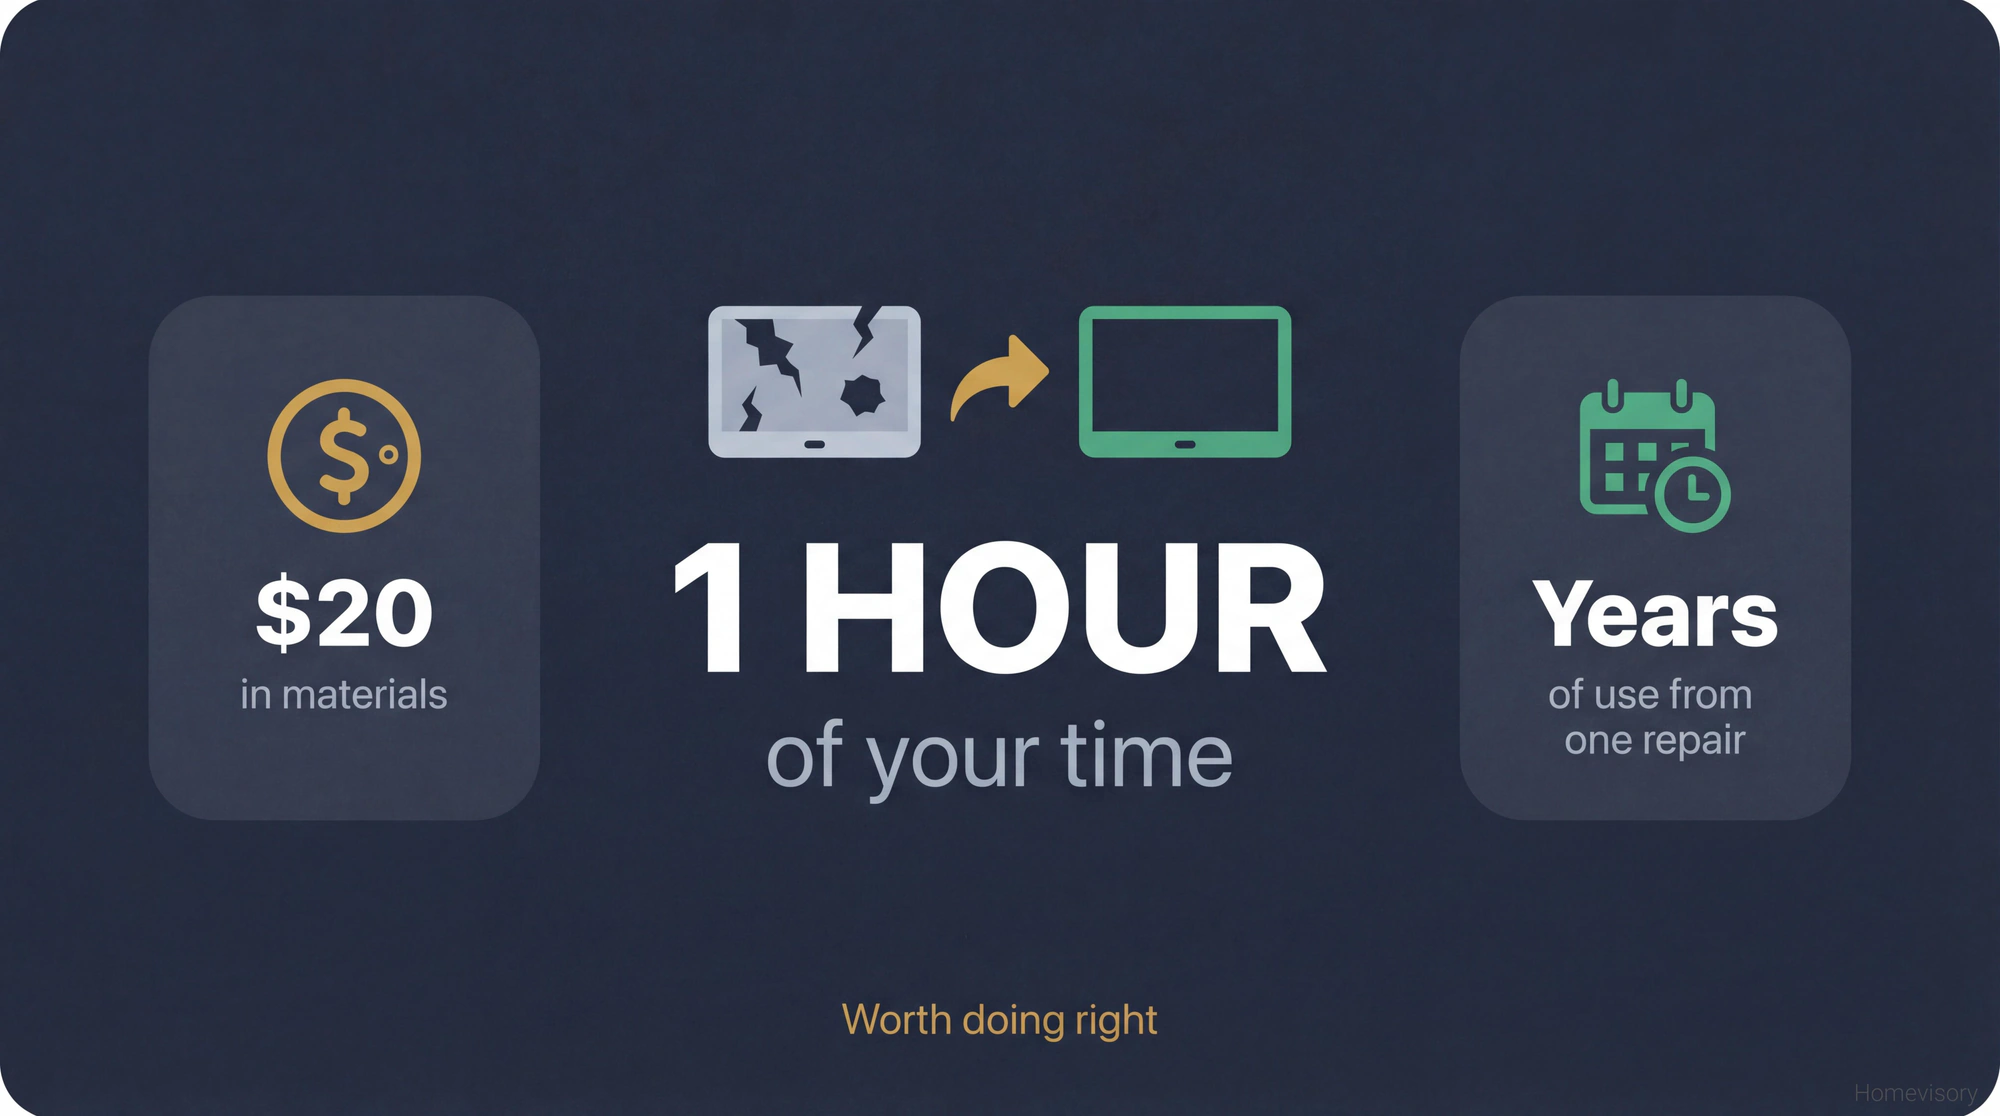
Theres a difference between repairing a small hole and replacing the entire screen. Theres also a difference between a screen door thats torn and a screen door thats falling apart because the frame is warped.
Small holes. Rips under six inches or so. Stretched mesh. These are all fixable without replacing anything major.
Holes bigger than your hand, screen pulling away from the frame on multiple sides, mesh thats turned brittle and crumbles when you touch it. Replace the whole screen. Its easier than trying to patch something thats already dying.
Bent frame, cracked corners, hardware thats stripped. Buy a new door. I’m not getting into frame repair here because honestly its not worth it. A new screen door costs sixty to a hundred and fifty dollars depending on quality and the time youll spend trying to straighten a bent aluminum frame is time you wont get back.
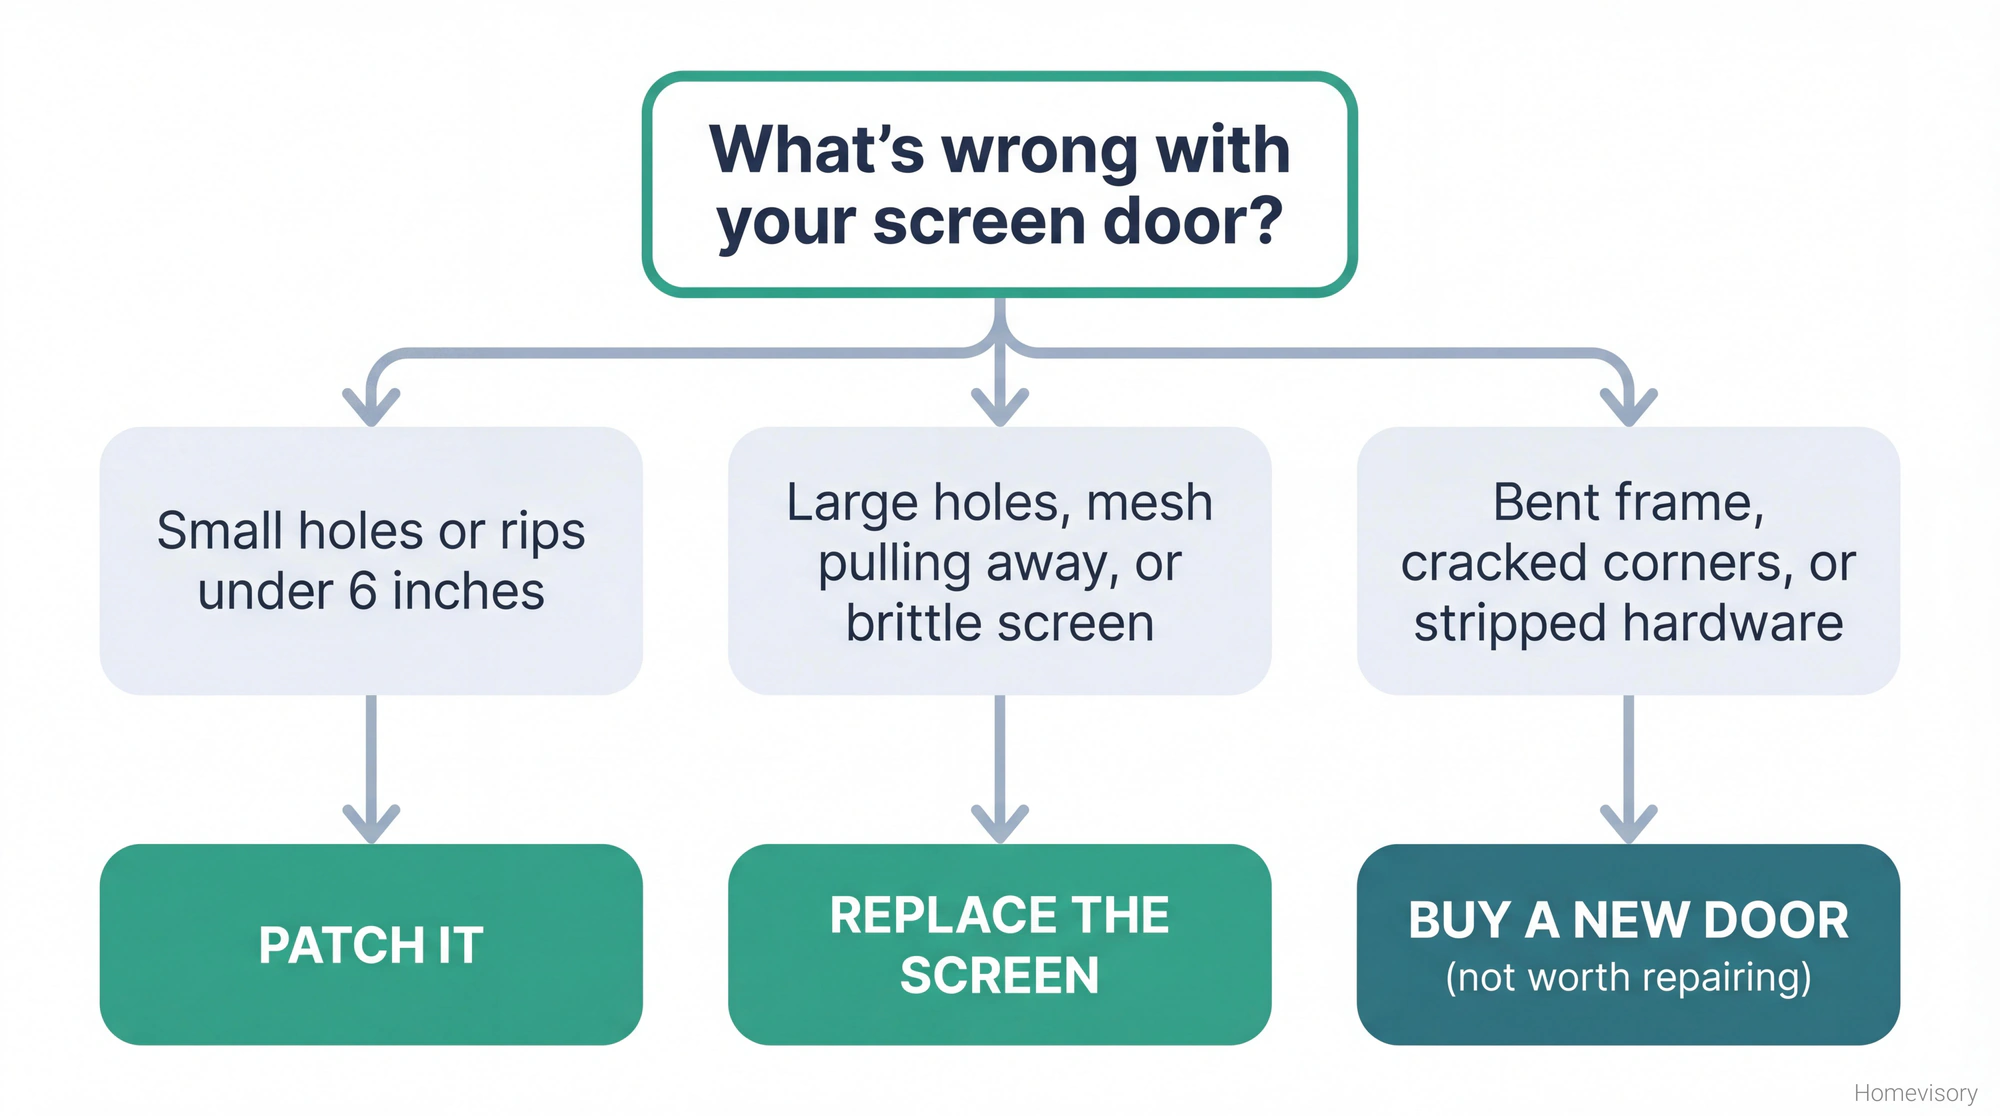
The Duct Tape Thing
I need to address this because I see it constantly. People put duct tape over screen holes. Or packing tape. Or those little screen repair patches that peel off after two weeks in the sun.
Whatever. These are temporary at best and they look terrible. If youre selling your house next month, fine, do what you need to do. But if you actually live there and you want the repair to last, youre going to have to do it right.
What Youll Need
For patching small holes:
- Screen patch material (fiberglass or aluminum, match what you have)
- Scissors
- Superglue or clear adhesive
For replacing the whole screen:
- New screen material (sold in rolls at any hardware store)
- Spline (the rubber cord that holds the screen in the frame)
- Spline roller (this is the tool you probably dont own but need)
- Utility knife
- Flathead screwdriver
- Clamps or something heavy to hold the frame steady
The spline roller is maybe five dollars. The spline itself is cheap. New screen material is ten to fifteen dollars for a roll that will cover most standard doors. Youre not spending much here.
Patching Small Holes
If the hole is small, like under three inches, you can patch it without taking the door apart.
Cut a patch thats about an inch bigger than the hole on all sides. If youre working with fiberglass screen, you can actually unravel a few threads from the edge of the patch and use those to weave through the existing screen around the hole. Its tedious but it holds better than glue alone.
For aluminum screen, overlap is your friend. Press the patch over the hole and use a thin layer of superglue around the edges. Hold it for sixty seconds. Let it cure for an hour before messing with it.
The urgent care mirror incident taught me something about being patient with repairs. I was demoing a bathroom vanity, moving too fast, and a mirror slid off and gave me eleven stitches in my palm. The nurse asked what happened and I said I got in a fight with a mirror. She asked if I won. Does it look like I won. The point isnt the mirror, the point is that rushing through something saves you maybe ten minutes and costs you hours. Let the glue dry.
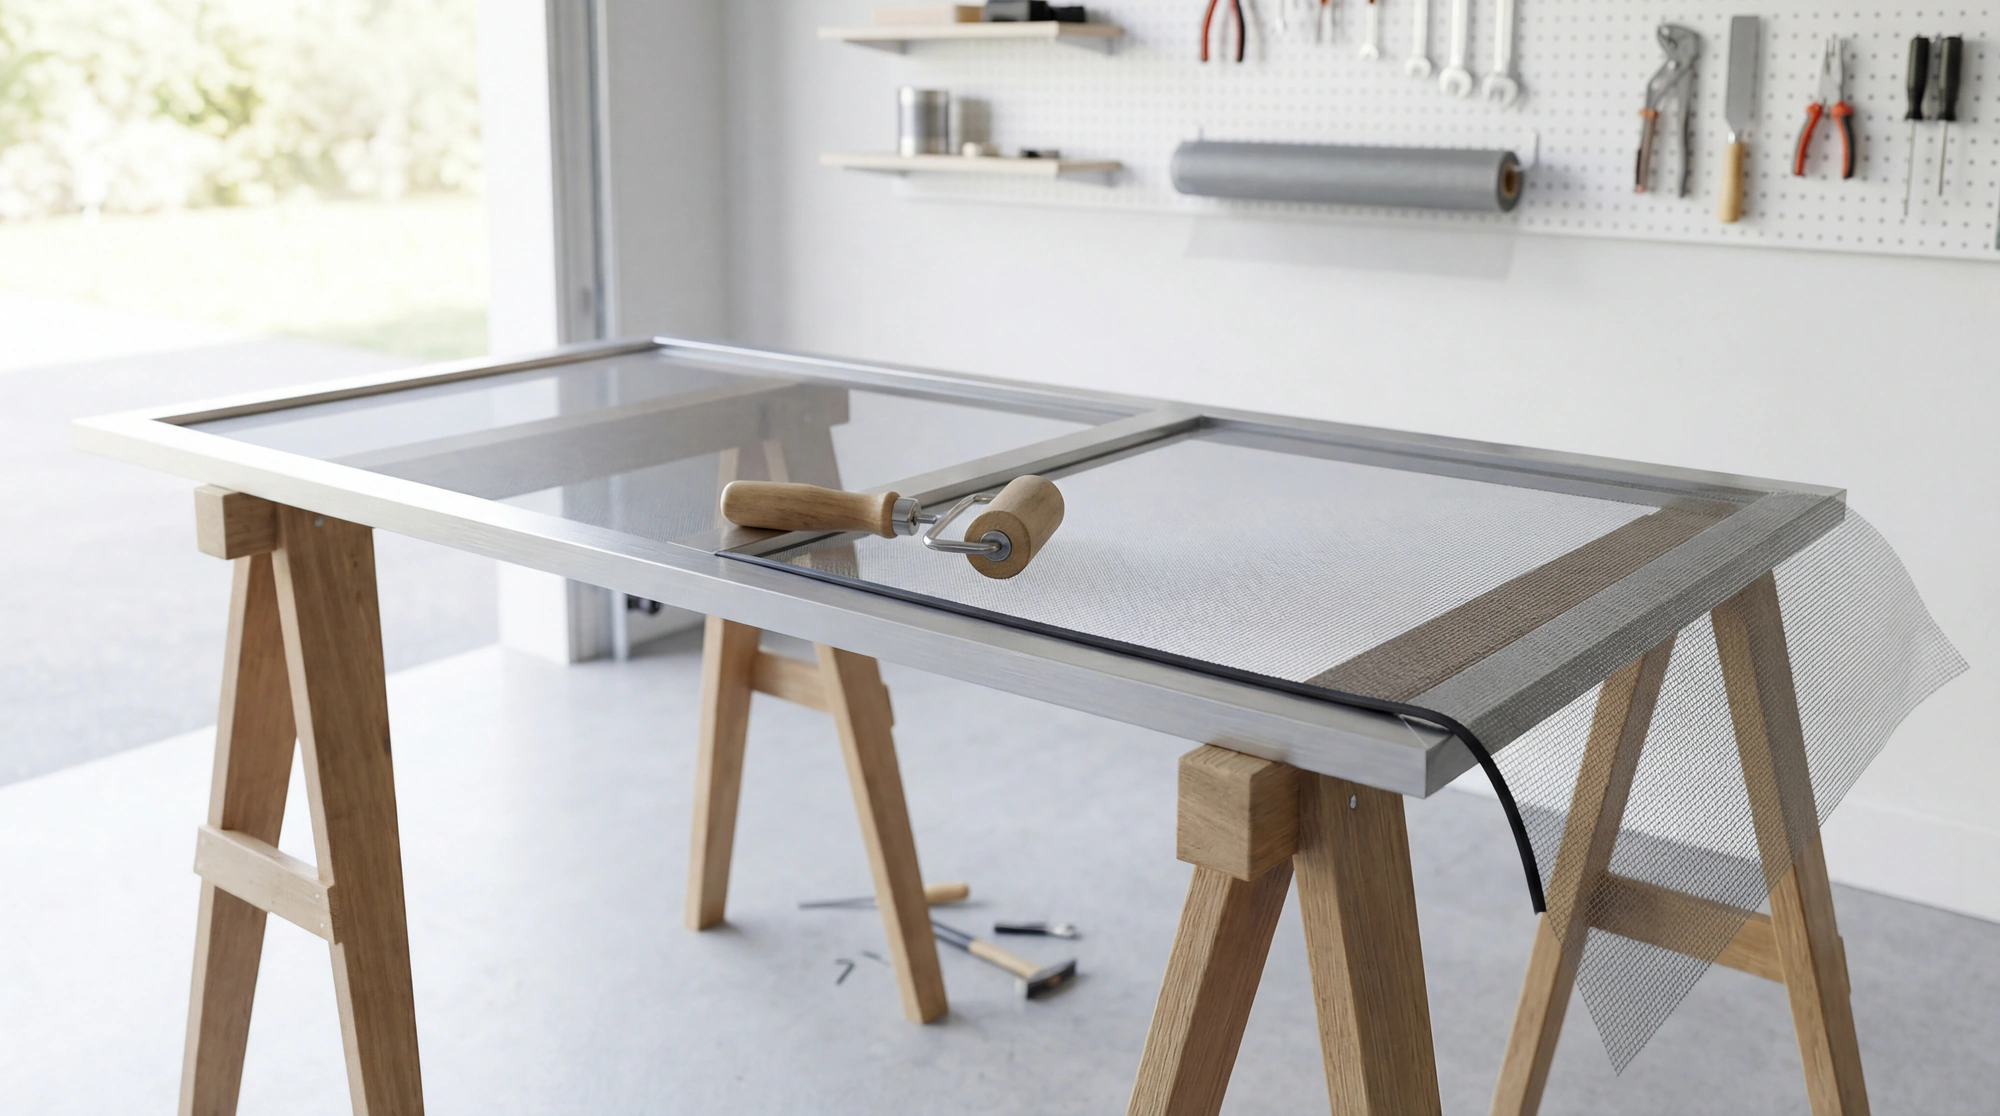
Replacing the Whole Screen
This is where screen door repair becomes actual work. But its still not hard.
Take the door off its hinges and lay it flat. You need a stable surface. Sawhorses work great. A table works. The floor works if thats what you have.
Look at how the old screen is held in. See that rubber cord pressed into a channel around the edge of the frame? Thats the spline. Your job is to remove the old spline, pull out the old screen, lay in new screen, and press new spline back into the channel.
Removing the Old Screen
Use a flathead screwdriver to pry up one end of the spline. Once you get a grip on it, it usually pulls out in one long piece. Sometimes it comes out in chunks if its old and brittle. Doesnt matter. Just get it all out.
Pull the old screen off. Clean out the channel with the screwdriver. Get any debris or old spline fragments out of there.
The Spline Roller Section
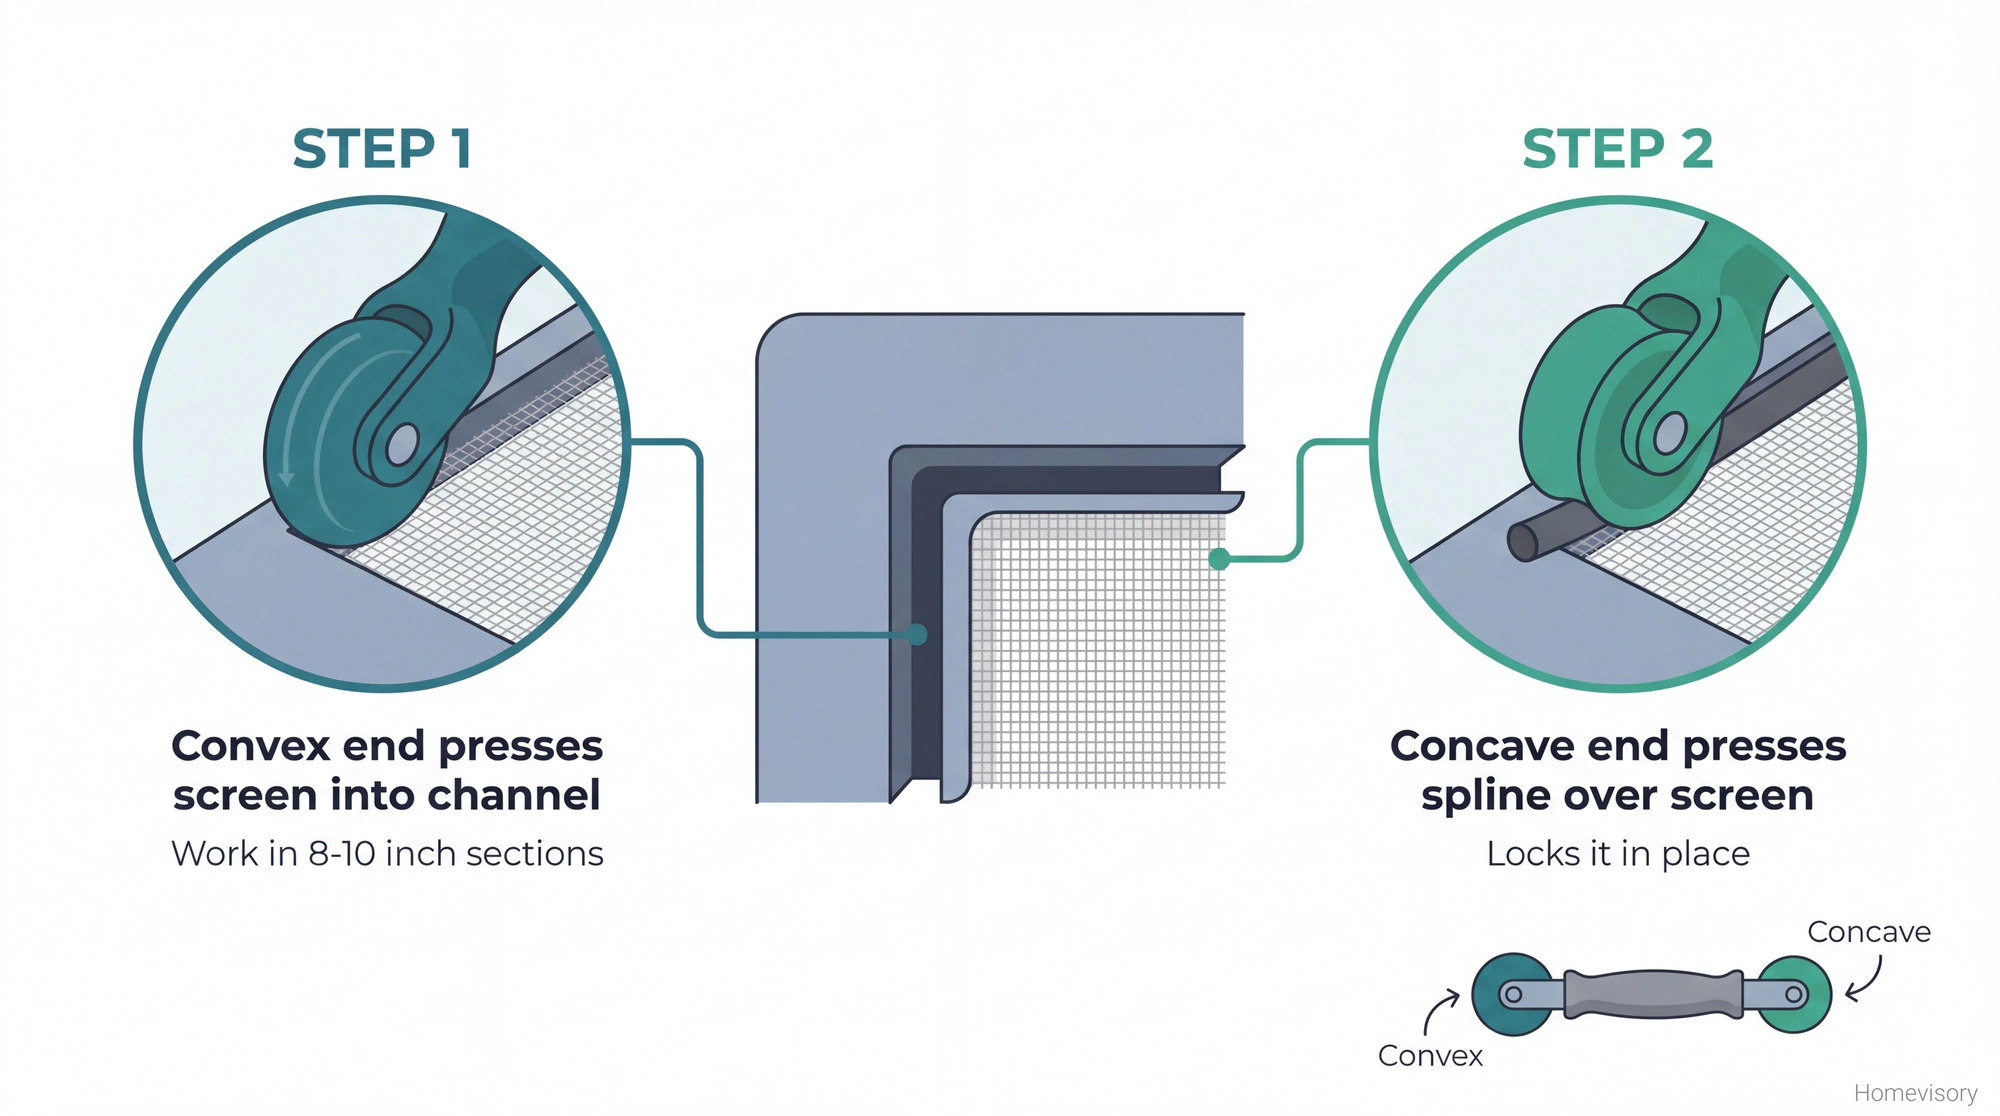
Heres where people mess up and heres where I probably care too much about technique but I’ve seen so many people stretch their screen crooked or leave it baggy because they dont understand what the spline roller is actually doing. The roller has two ends. One end is convex, rounded outward, and thats for pressing the screen into the channel. The other end is concave, curved inward, and thats for pressing the spline on top of the screen. You use both. First you roll the screen into the channel with the convex end, working in short sections, pulling the screen tight as you go. Then you lay the spline on top and roll it in with the concave end. If you try to do both at once or if you use the wrong end, the screen will be loose or bunched and youll have to start over. Work in sections of maybe eight to ten inches. Go around the whole frame.
Start on a short side, not a long side. Press the screen into the channel, lay the spline in, move to the opposite short side and pull the screen tight before you press it in. Then do the long sides. This keeps everything taut.
Cutting the Screen
Mr. Davis, my woodshop teacher back in Atlanta, used to say measure twice and cut once. He was talking about wood but it applies to everything. Lay your new screen over the frame and cut it so you have about two inches of overhang on all sides. You need that extra material to grip while youre pulling it tight. You can trim the excess after the spline is in.
Once the spline is pressed in all the way around, take a utility knife and run it along the outside edge of the spline channel. The excess screen will come right off. Dont cut toward the spline or youll slice through it.
Screen Material Matters
Fiberglass is cheaper and easier to work with. It doesnt crease as badly and you can see through it a little better. But it tears more easily, especially if you have pets or kids who lean against it.
Aluminum is more durable. Holds up to pets. Costs a bit more. Harder to work with because it creases if you bend it wrong and those creases dont come out.
Theres also pet-resistant screen thats thicker and coated. Its like twice the price and honestly most people dont need it unless your dog has destroyed three screens already. At that point yeah get the heavy duty stuff.
The Screen Door My Dad Fixed
This doesnt have anything to do with technique but I keep thinking about it. The screen door at our house in Atlanta, the one we had after we moved from Brooklyn, had this specific sound when it closed. Metal on metal and then a little rattle. My dad Curtis fixed that door probably four times over the years we lived there. He didnt have YouTube or guides or whatever. He just figured it out. I used to sit on the porch and watch him work and I dont remember him explaining anything. He just did it. The sound that door made when it closed.
Anyway.
Hardware Issues
Sometimes the screen is fine but the door doesnt close right. Check the hinges first. Loose screws are the most common problem. Tighten them. If the holes are stripped and the screws wont grip, pack the hole with wooden toothpicks and wood glue, let it dry, and redrive the screw.
The closer mechanism, that pneumatic cylinder thing at the top, those wear out. Theyre adjustable usually with a screw on the end. Turn it to add more tension. If its completely shot and the door just slams or wont close at all, replace the whole closer. Fifteen dollars, four screws.
Rollers on sliding screen doors get clogged with dirt and hair. Flip the door over and clean them out. Sometimes they need to be replaced but usually they just need cleaning. While youre working on your doors, check the weatherstripping on your exterior doors too — worn seals cost you money on energy bills.
What Homevisory Does Here
This is exactly the kind of task that falls through the cracks. You notice the screen is torn, you think youll get to it this weekend, three months later the cat has escaped six more times and youve got mosquitos in the living room.
Thats what we built Homevisory to prevent. Our Homevisory home task manager sends you reminders for home maintenance before things become problems. Screen doors. HVAC filters. Gutter cleaning. All of it. Our home maintenance checklist covers the full schedule. You can set it up in about five minutes and its free. Thats what we do here at Homevisory.
Dont Overthink This
Screen door repair is one of the most satisfying home maintenance tasks because the result is immediate. Door has a hole. You fix the hole. Door no longer has a hole. You can see what you did.
The spline roller is five dollars and youll use it every few years for the rest of your life. The screen material is cheap. The technique is simple once you understand what the tools are actually doing.
No shortcuts though. Tape doesnt count as a repair. Doing it right takes an hour. Doing it wrong and then doing it right takes two hours plus the cost of your patience. Your choice.